Grand Traverse Beta
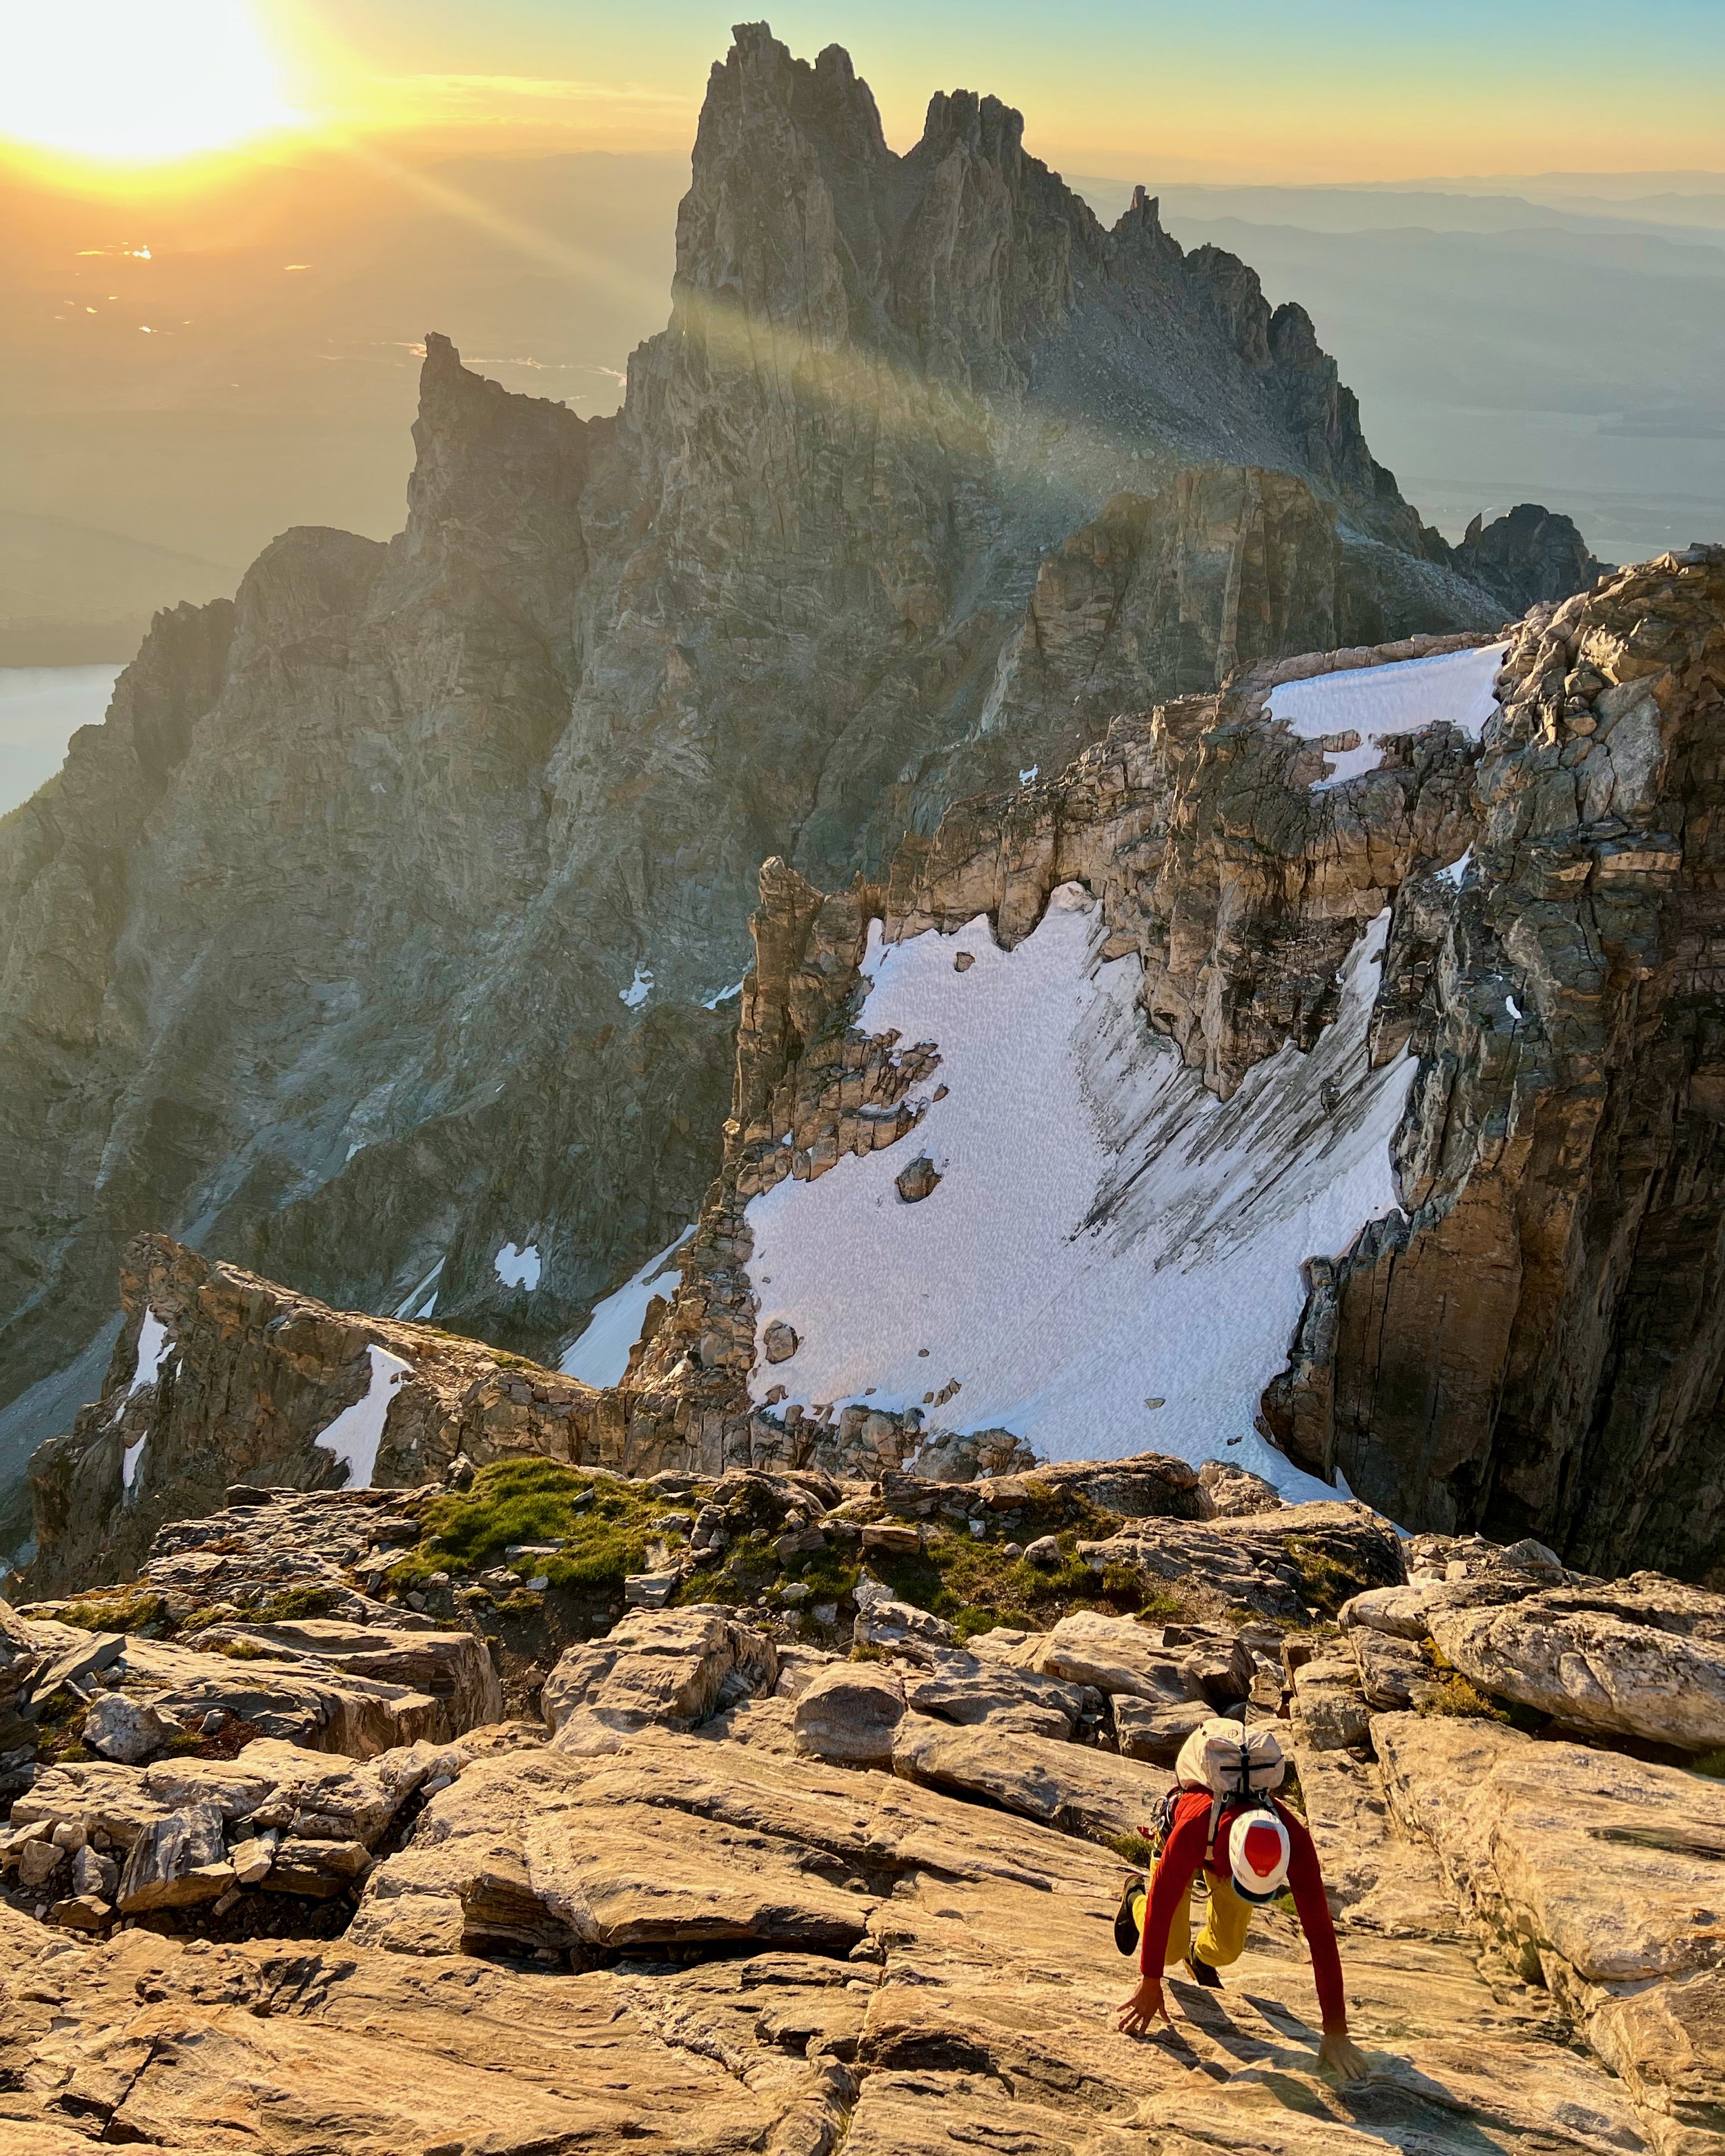
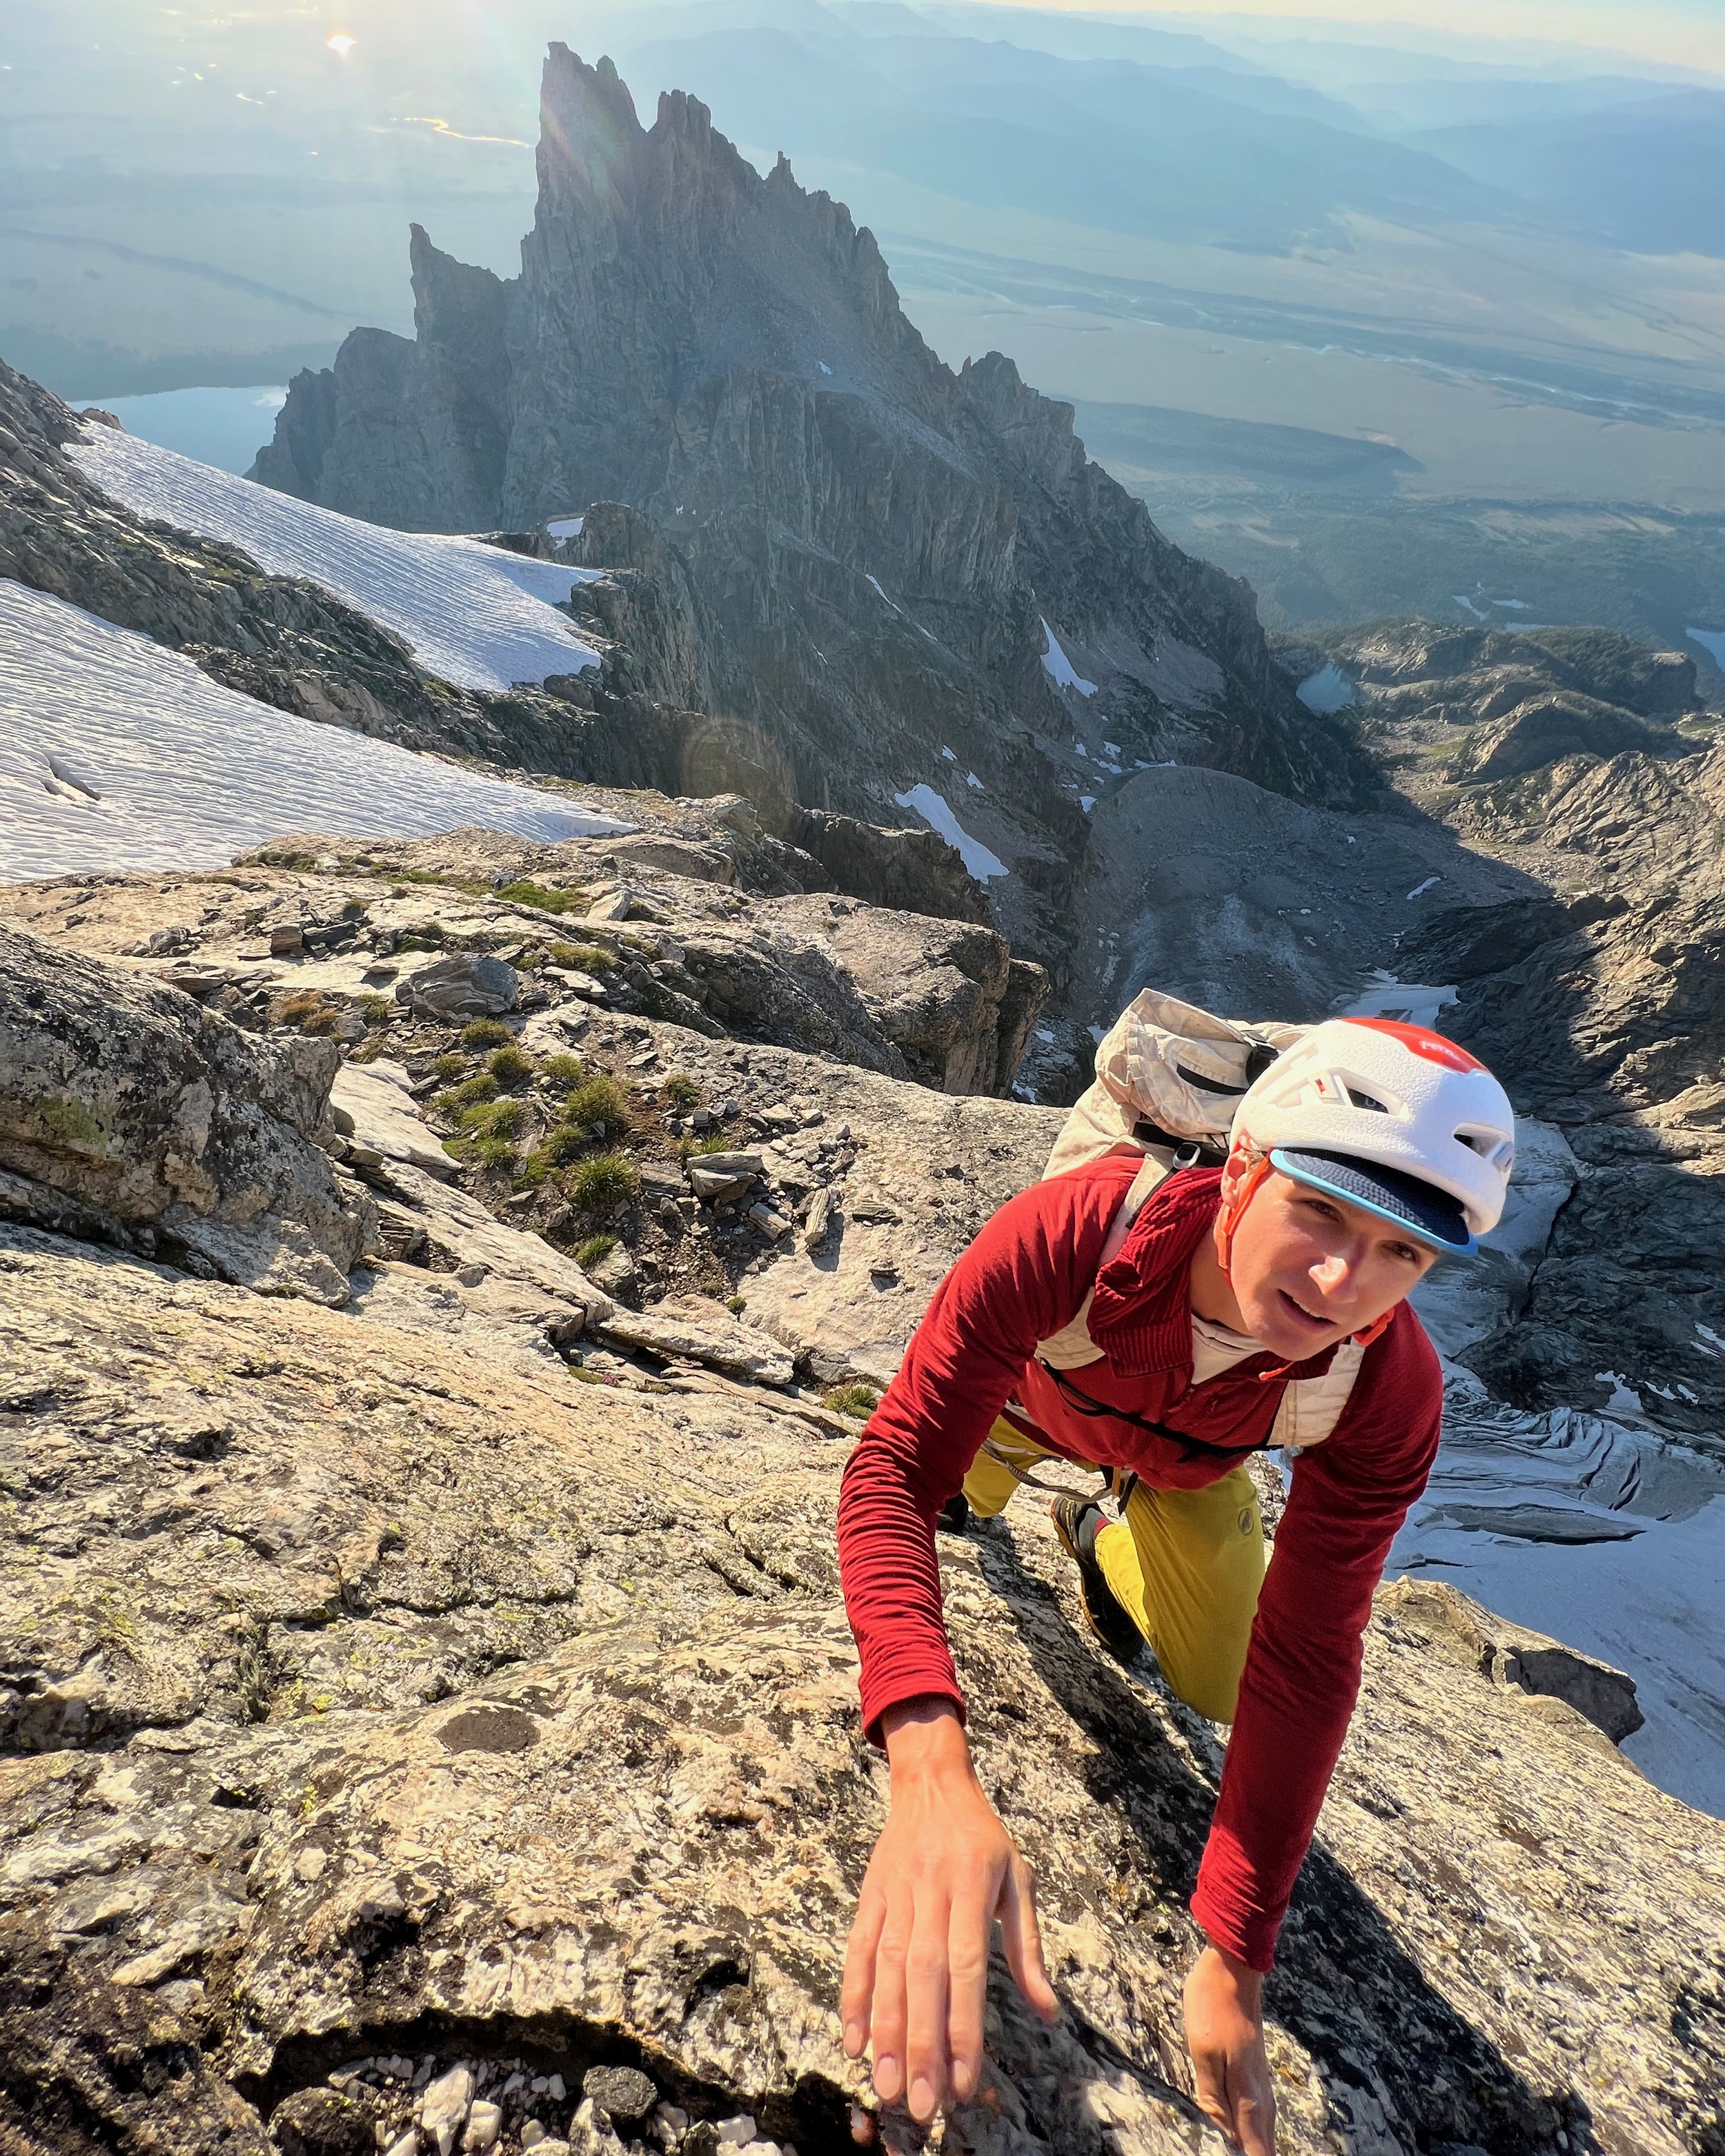
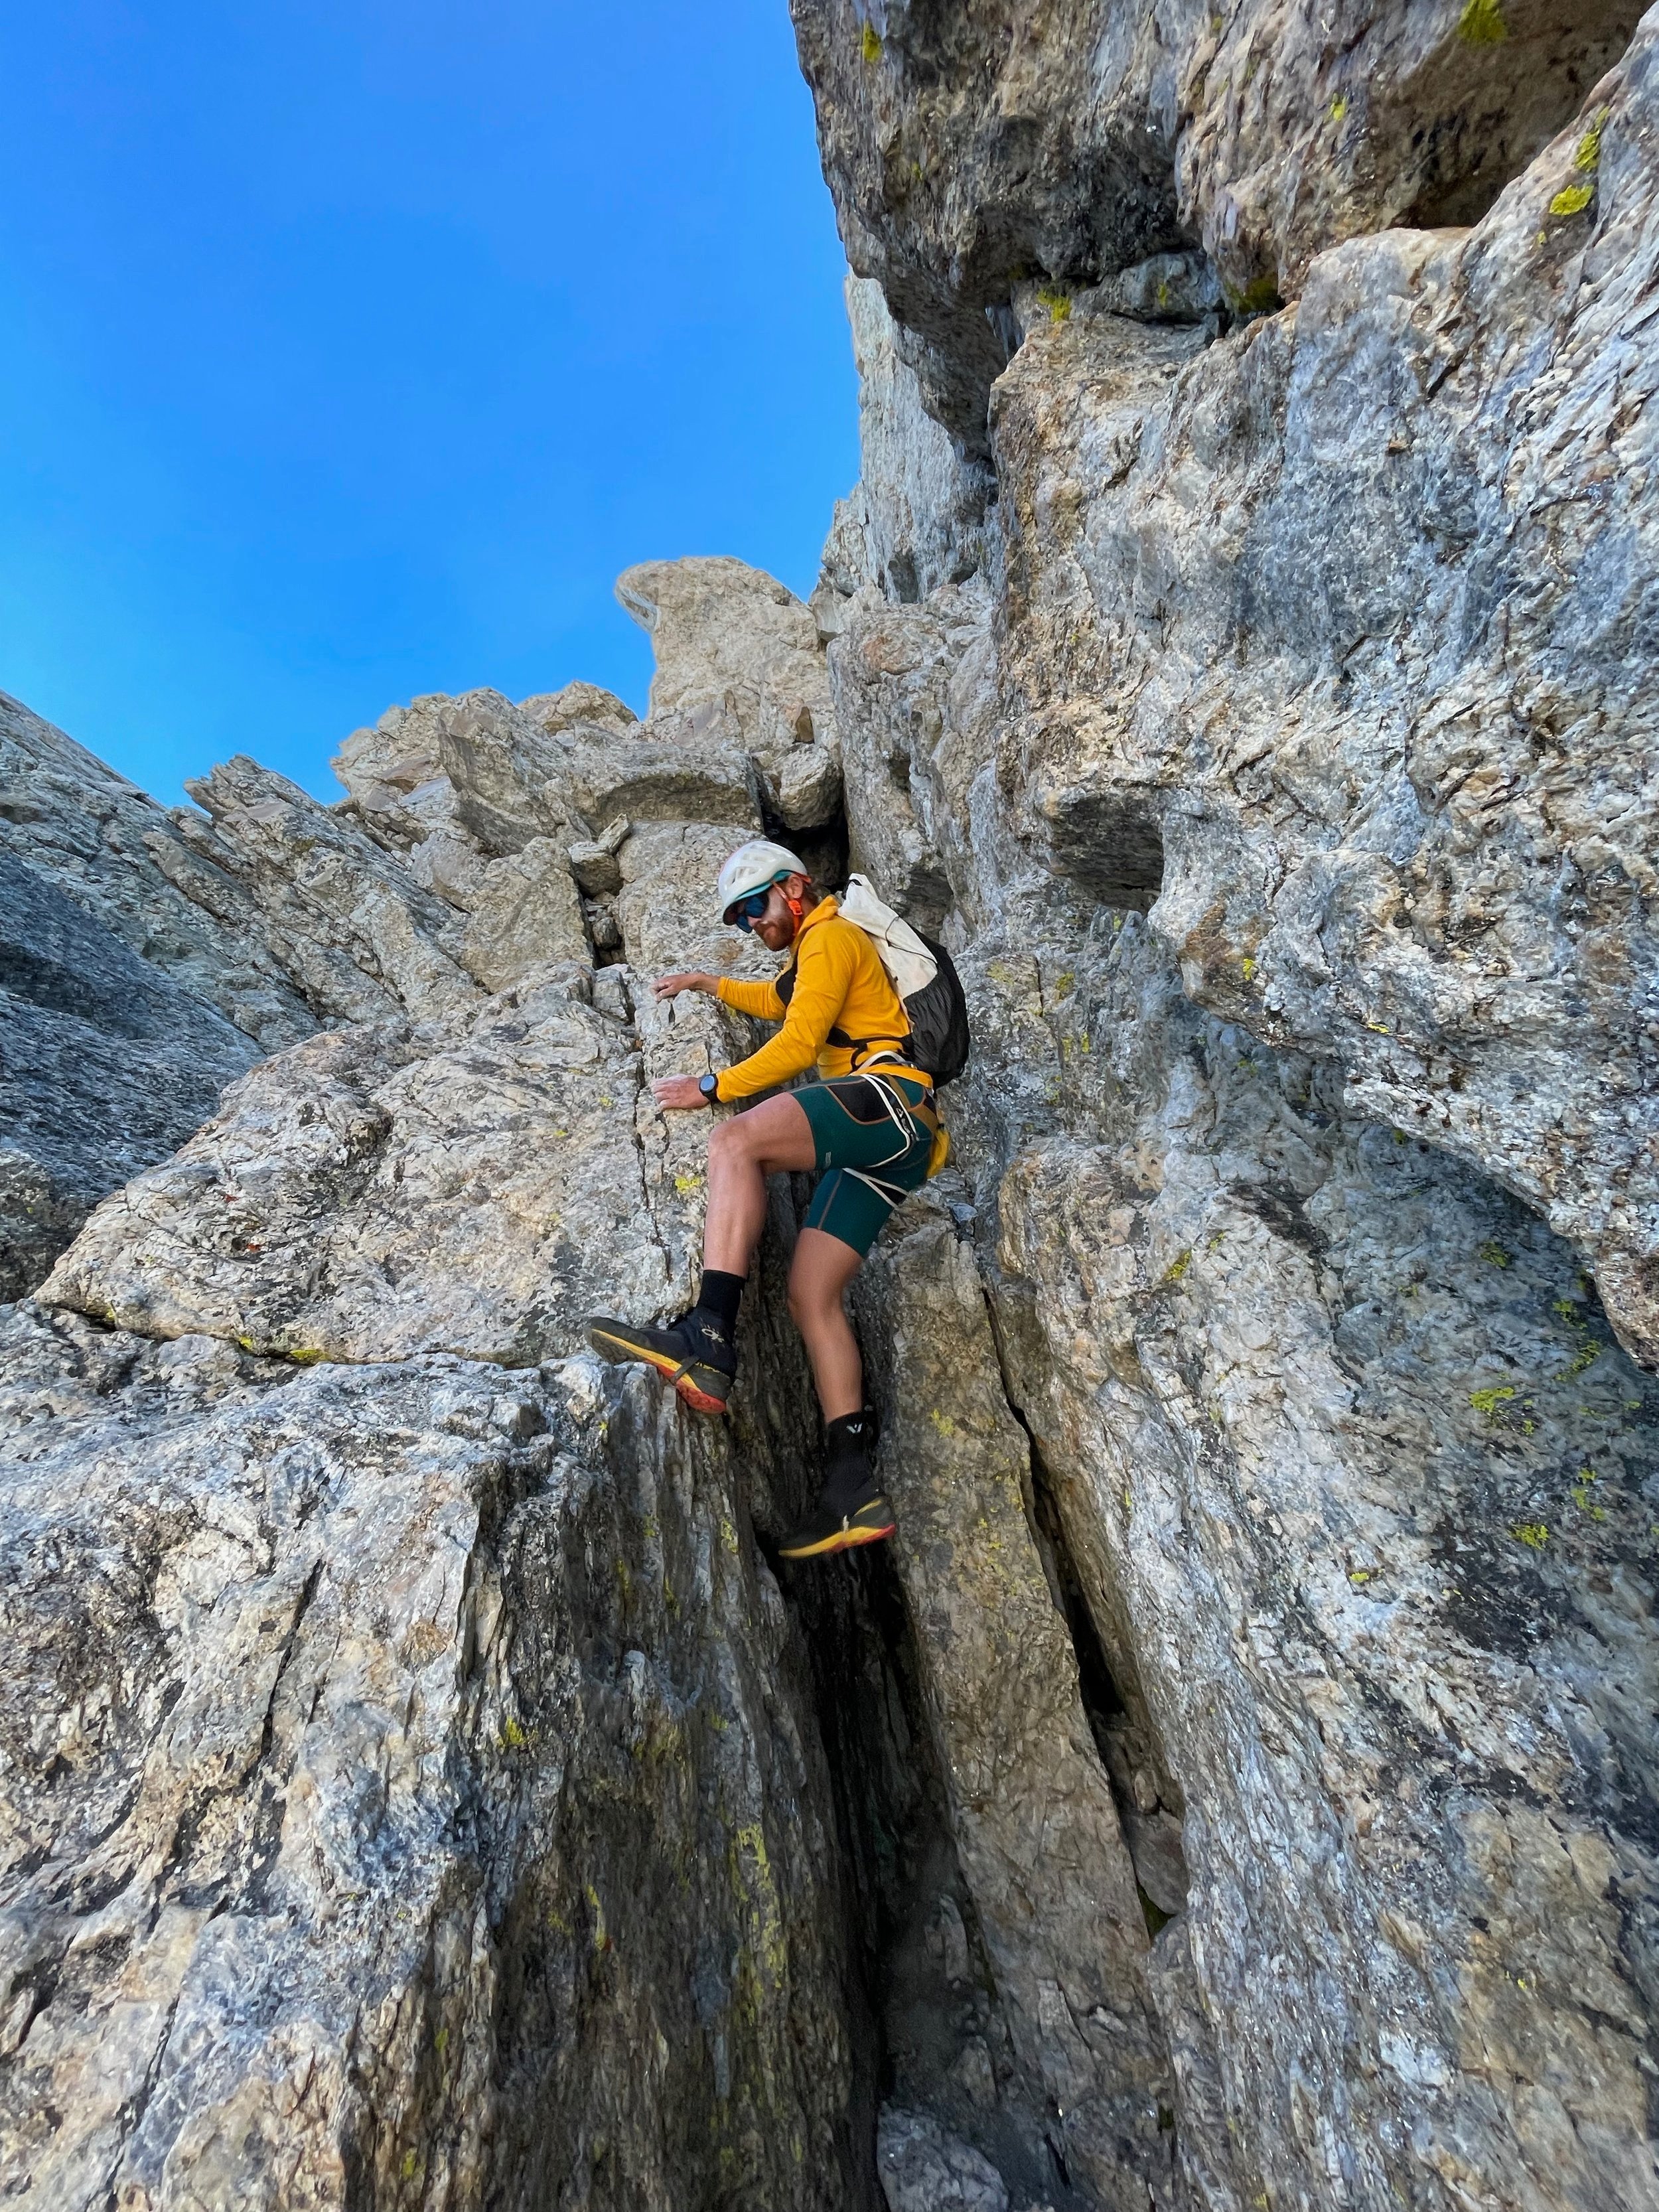
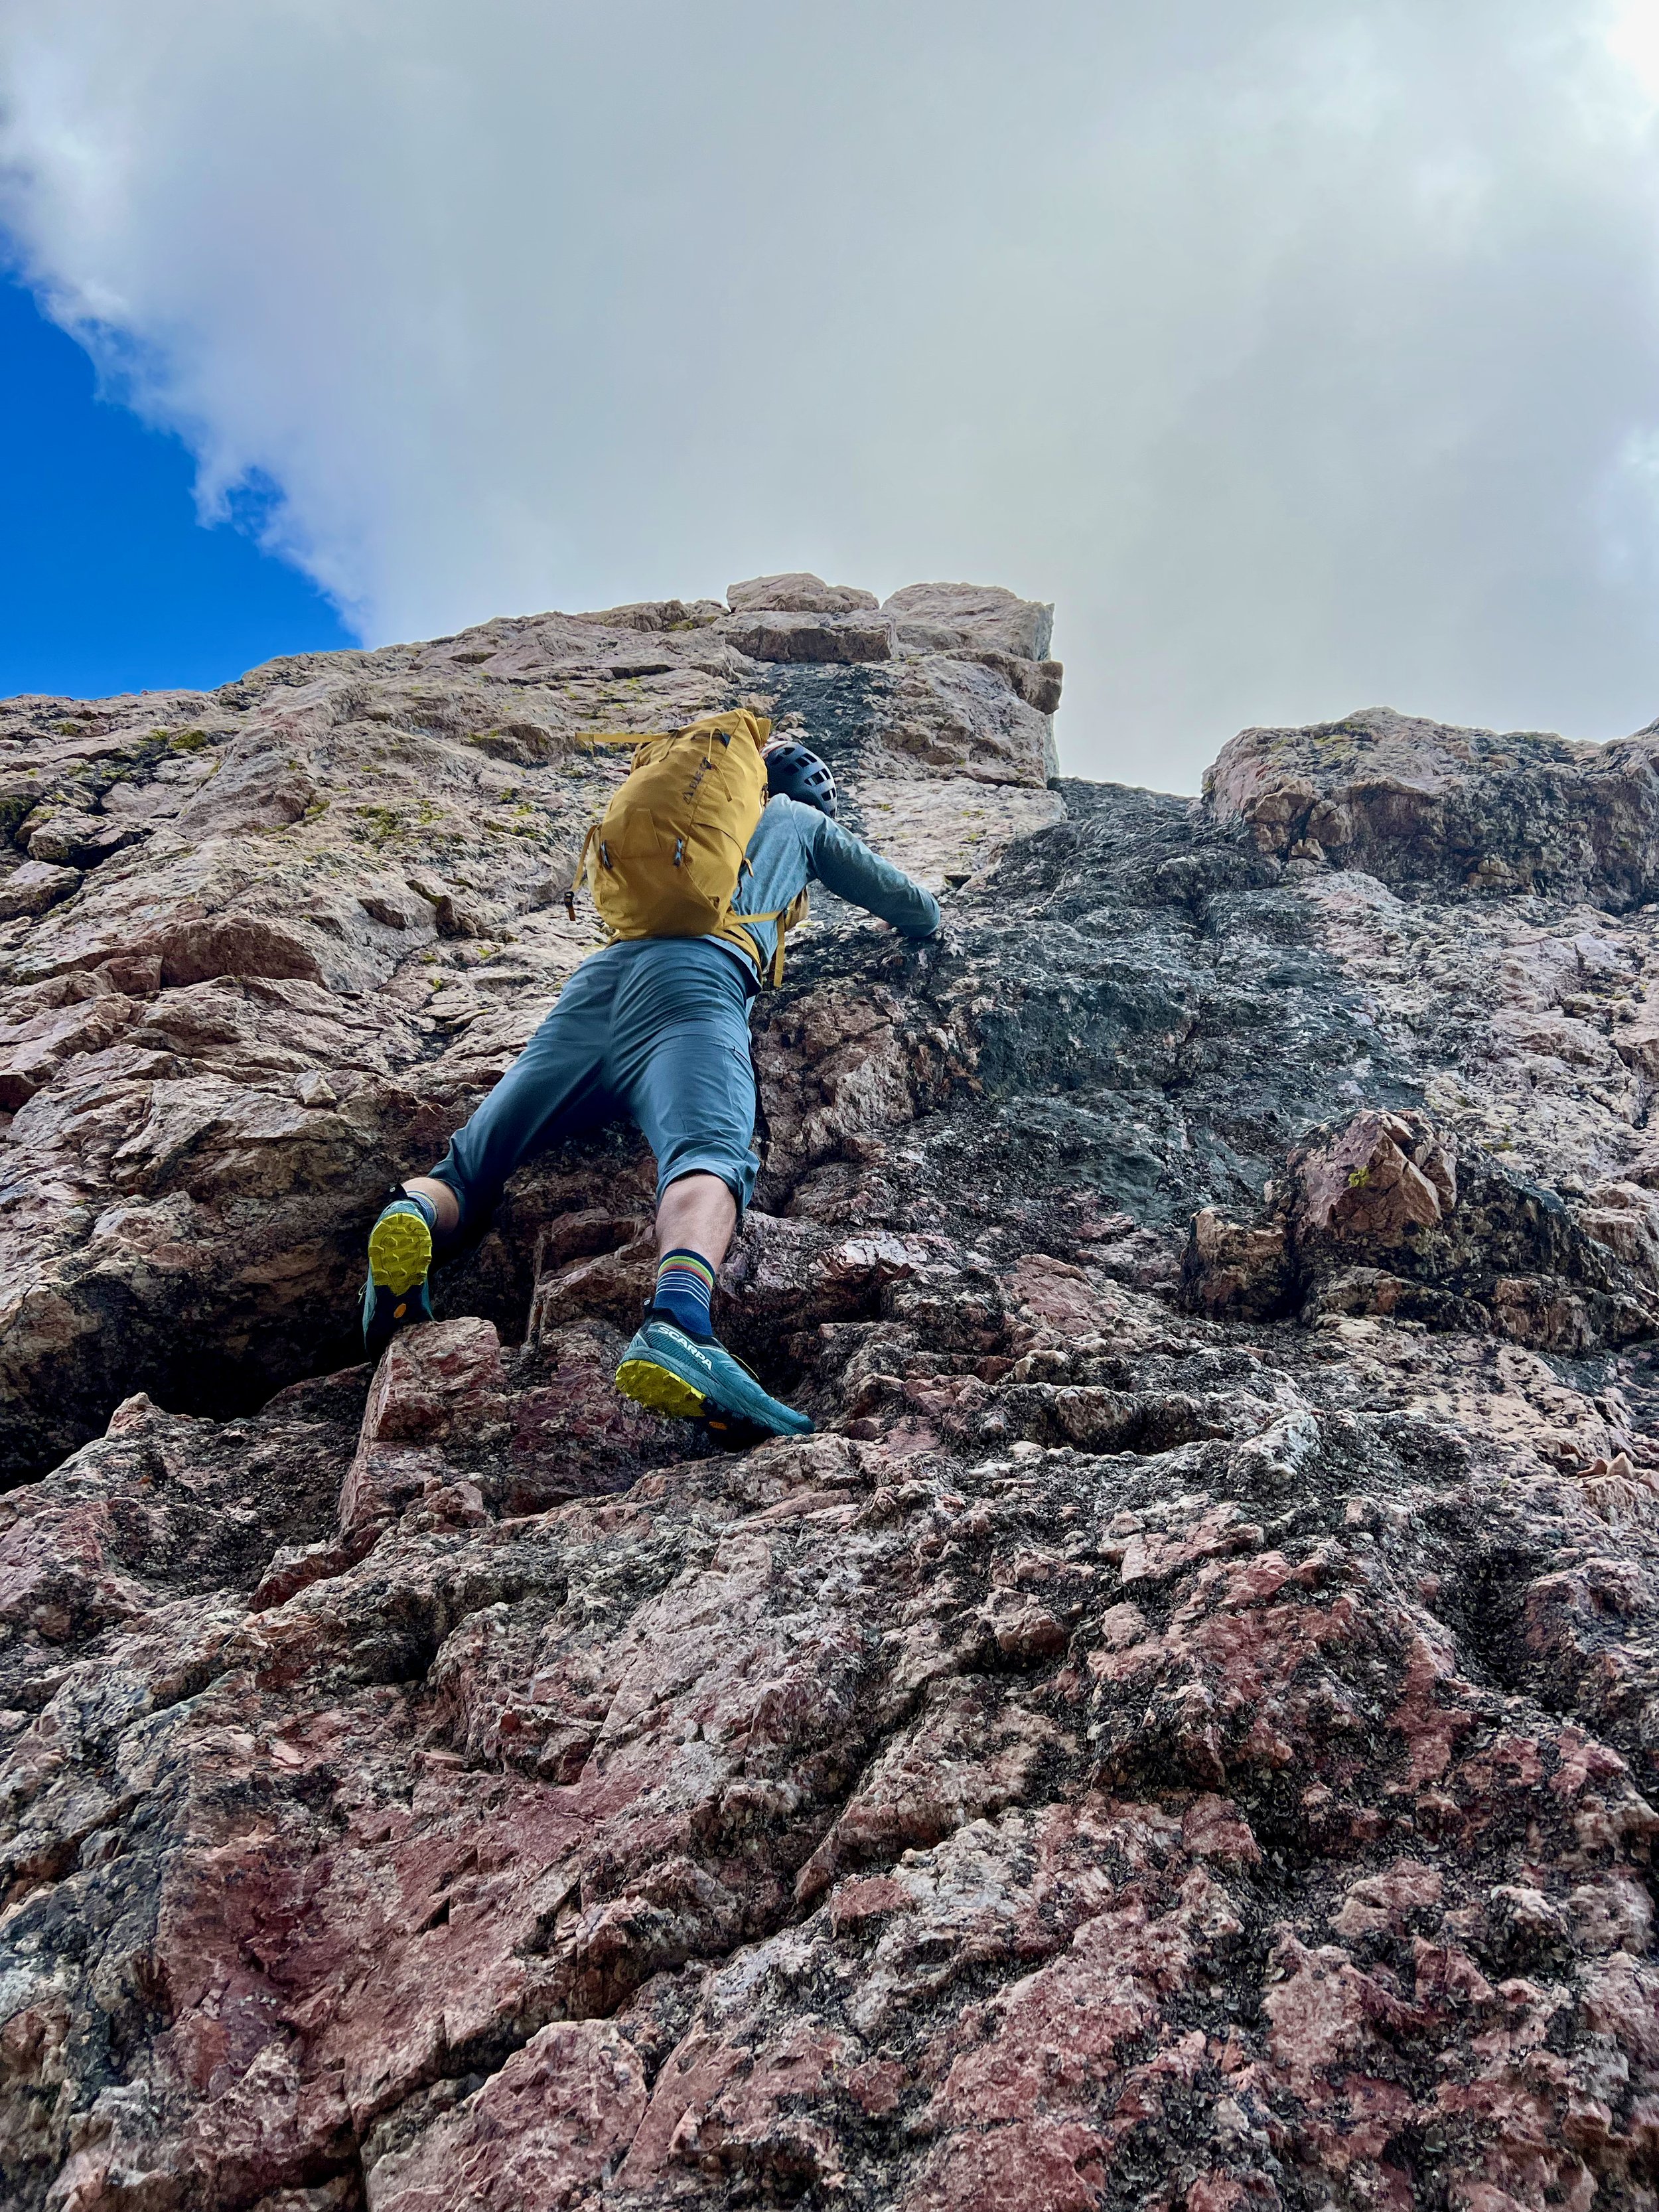
Chris climbing out of Koven Col
After 2 failed attempts last summer, I finally succeeded in climbing the Grand Traverse in a single push. I wanted to throw together my own notes that I found helpful on the traverse. It is meant to supplement the Smiley beta available for purchase on mtnsense.com. Mark Smiley may be a controversial character in the Tetons, but his GT beta is very helpful, especially for navigating the section between Owen and Gunsight Notch. 12:30 am seems to be a sensible start time for 24-hour pace. I would much rather deal with more hours in the dark in the beginning than at the tail end. The route finding is more straightforward between Teewinot and East Prong than around Nez Perce. Lastly, I’m comfortable soloing 5.5ish terrain so the beta corresponds with this.
Lupine Meadows to Teewinot
Follow the well-established climbers trail straight out of Lupine Meadows and enjoy good trail for the first ~3500 ft of the ascent.
The guidebook rating for Teewinot is 4th class. There may be some low 5th class moves sprinkled in, but if anything feels harder than 5.4, you’re definitely off route.
There’s a prominent chimney/ gully system on the left side of the face that serves as a good landmark in knowing which side of it to be on.
Cross the gully at 11,500’ and stay just to the right of the gully until you hit the running water. Wandering too far right will result in slabby mid-5th class terrain.
There’s usually a snowfield on the top part of the route with water running around 11,770’. I like to start with 0.75L of water and bank on the running water here. Don’t carry more water than you have to!
Continue climbing up just right of the gully and drop packs once you hit 12,150’ as you’re just doing an out and back from here. Make sure you drop a waypoint, so you don’t waste time trying to find your pack!
Head out far climbers right (Northeast) and pick up a faint trail that will take you to the summit ridge that runs East to West.
Teewinot to East Prong
Travel over chill but loose terrain to get to the top of Peak 11840.
Head skiers right as soon as you hit the top to find the first rap anchor close by.
Make 4x 21m rappels. The first 3 anchors are bolted. On the last rap, make sure you pull the rope from skiers right as I’ve had issues with ropes getting stuck here before.
Within 200 ft of the last rap there’s a steep dirt couloir that needs to be descended before cutting hard skiers left. Thankfully there’s an old 3 pin anchor that can be used to make a 21m rap. I downclimbed this dirt couloir last summer and it was one of the sketchiest things I’ve ever done.
From here, stay on the right side of the ridge and connect ledge systems. This is by far the chossiest part of the Cathedral but overall, it’s not too bad.
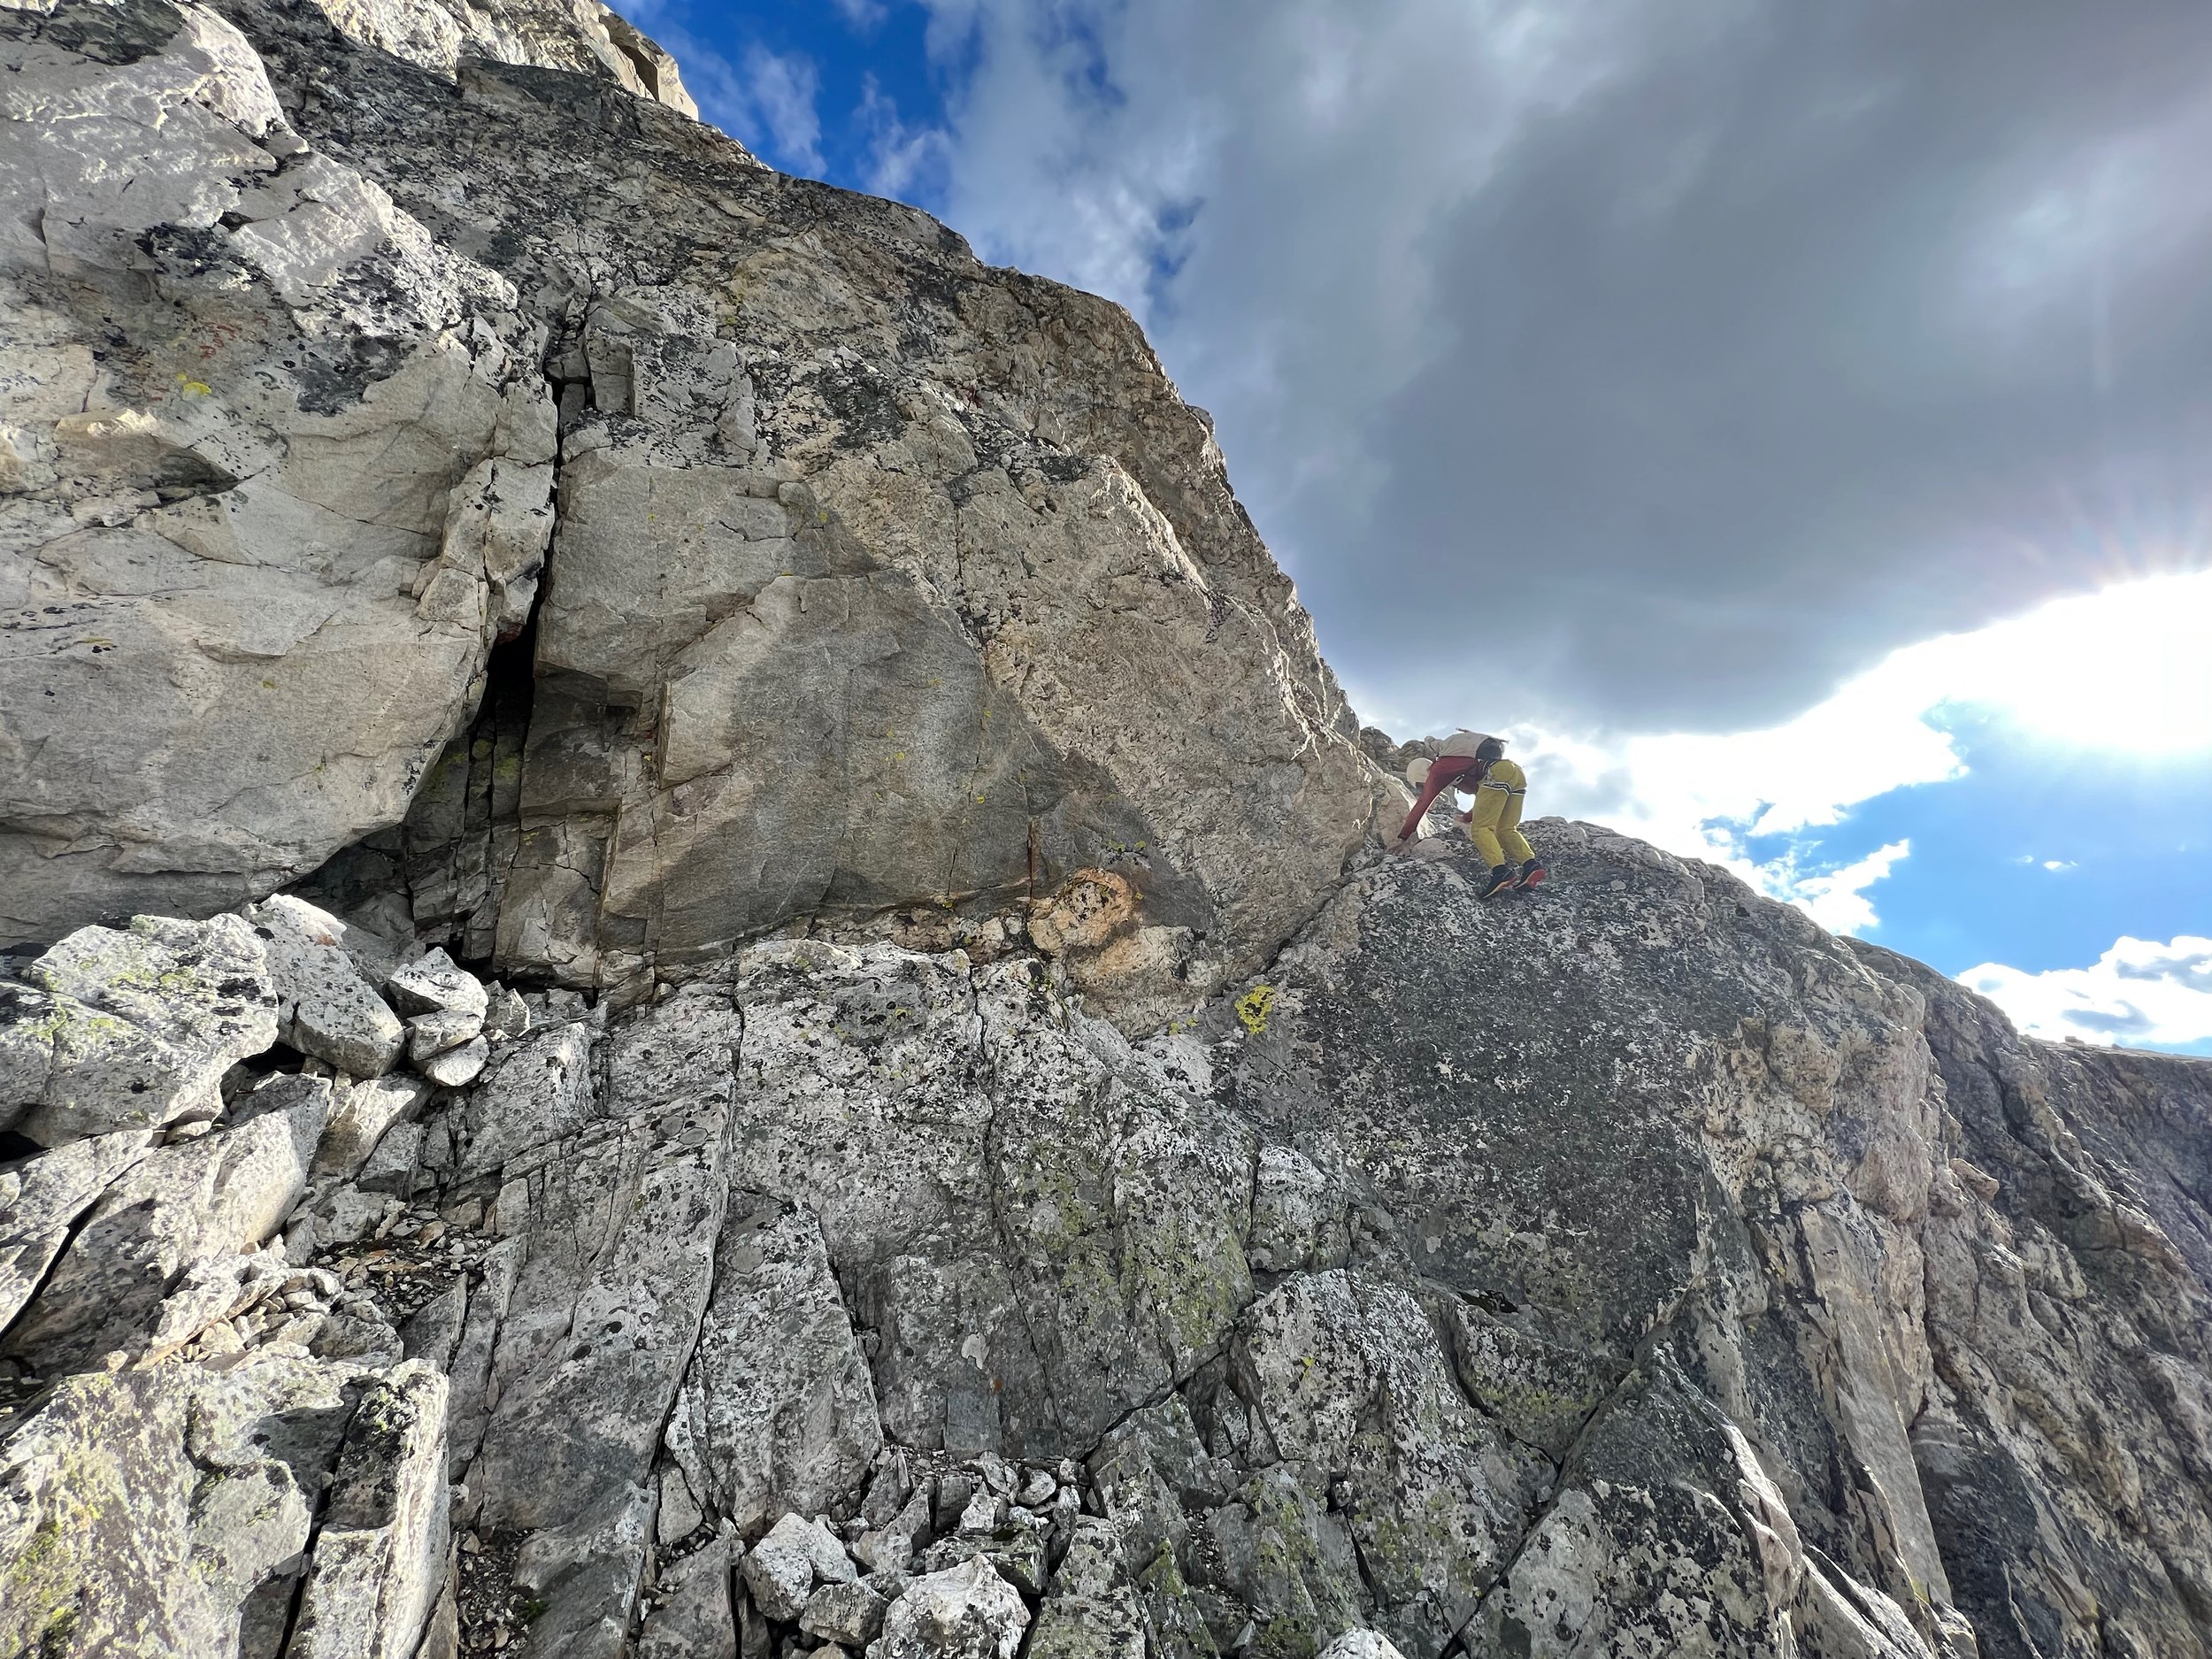
East Prong to Owen
It’s possible to downclimb from East Prong to Koven Col but this terrain is steep, blocky, and usually wet so I’ve always made the raps.
I made 3 raps this past time. A 10-15 m rap off the top and then a 21m rap. From here, we moved a little skiers left and made a full 42m rap using the Escaper to bypass the snow in Koven Col. We didn’t bring an ice axe or microspikes and had planned on using the Escaper in this section. It’s much lighter than two Ice Axes and two sets of Microspikes and the snow here is usually bulletproof by August so you’d need an ice axe with a steel pick and real crampons to have much security in this section. Pulling the Escaper is always exciting, but we had a very clean pull here, so I wasn’t worried about issues with the Escaper releasing.
There’s always running water just after Koven Col and it’s easy to fill bottles here.
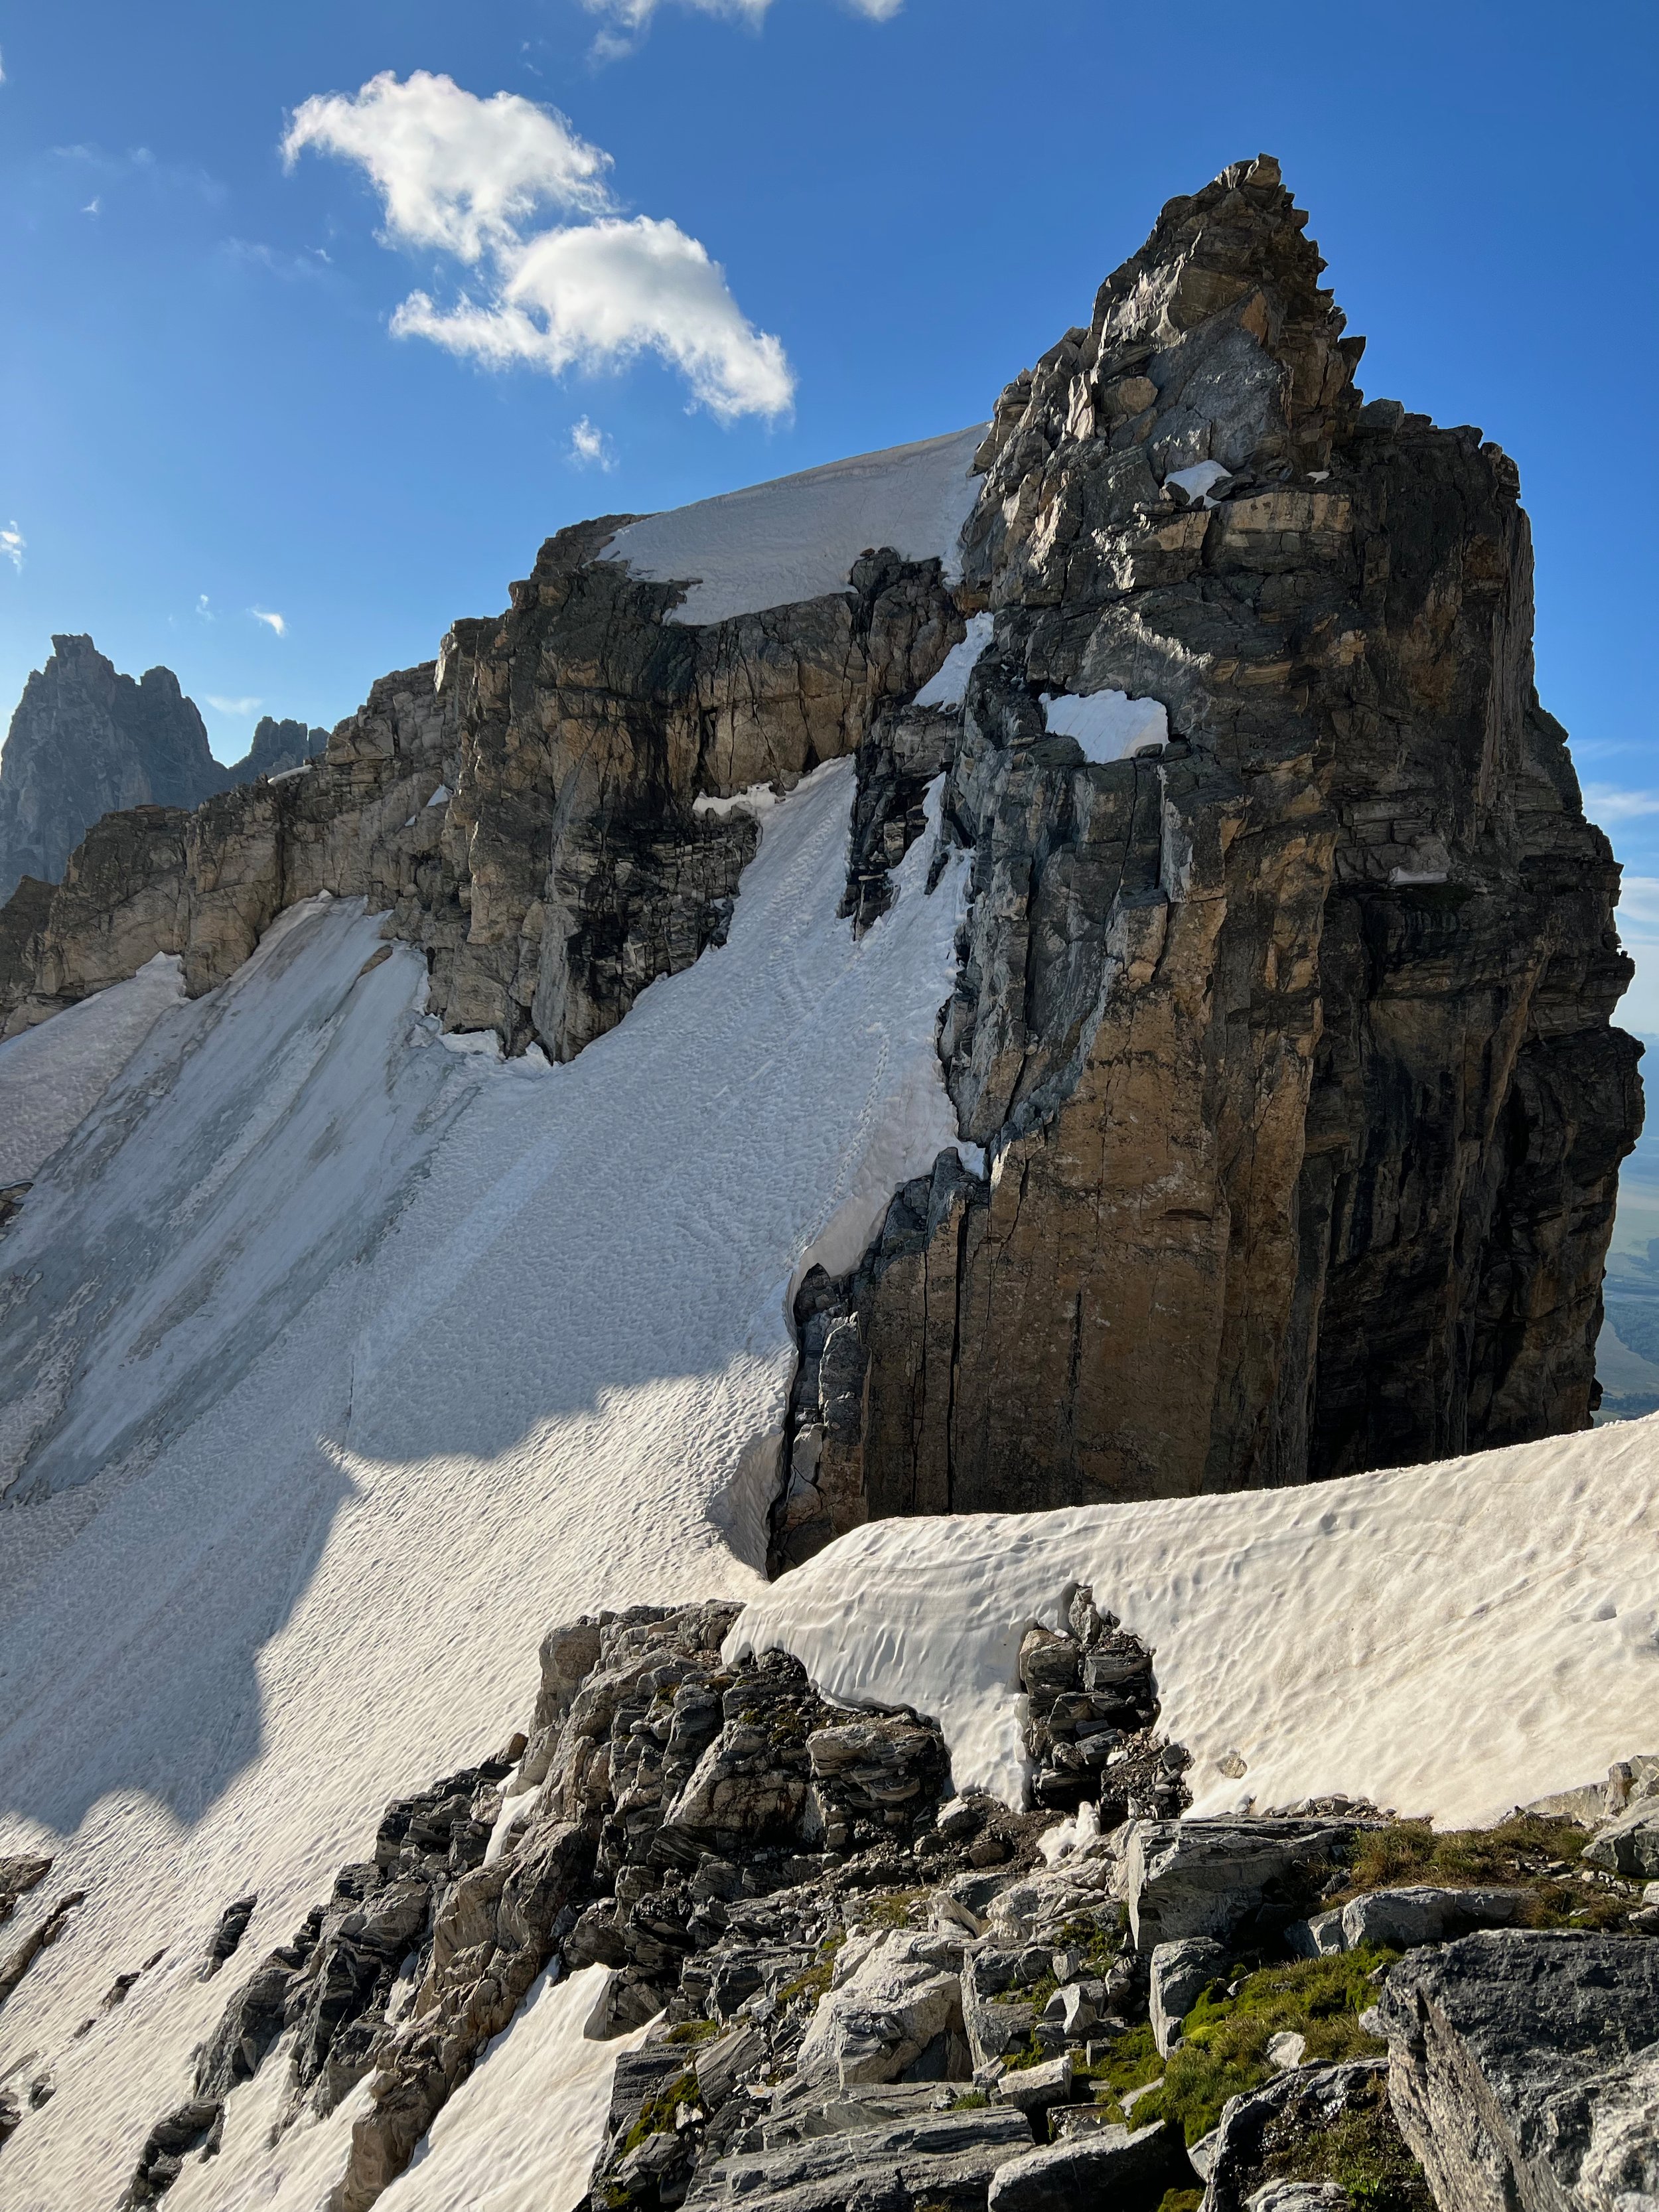
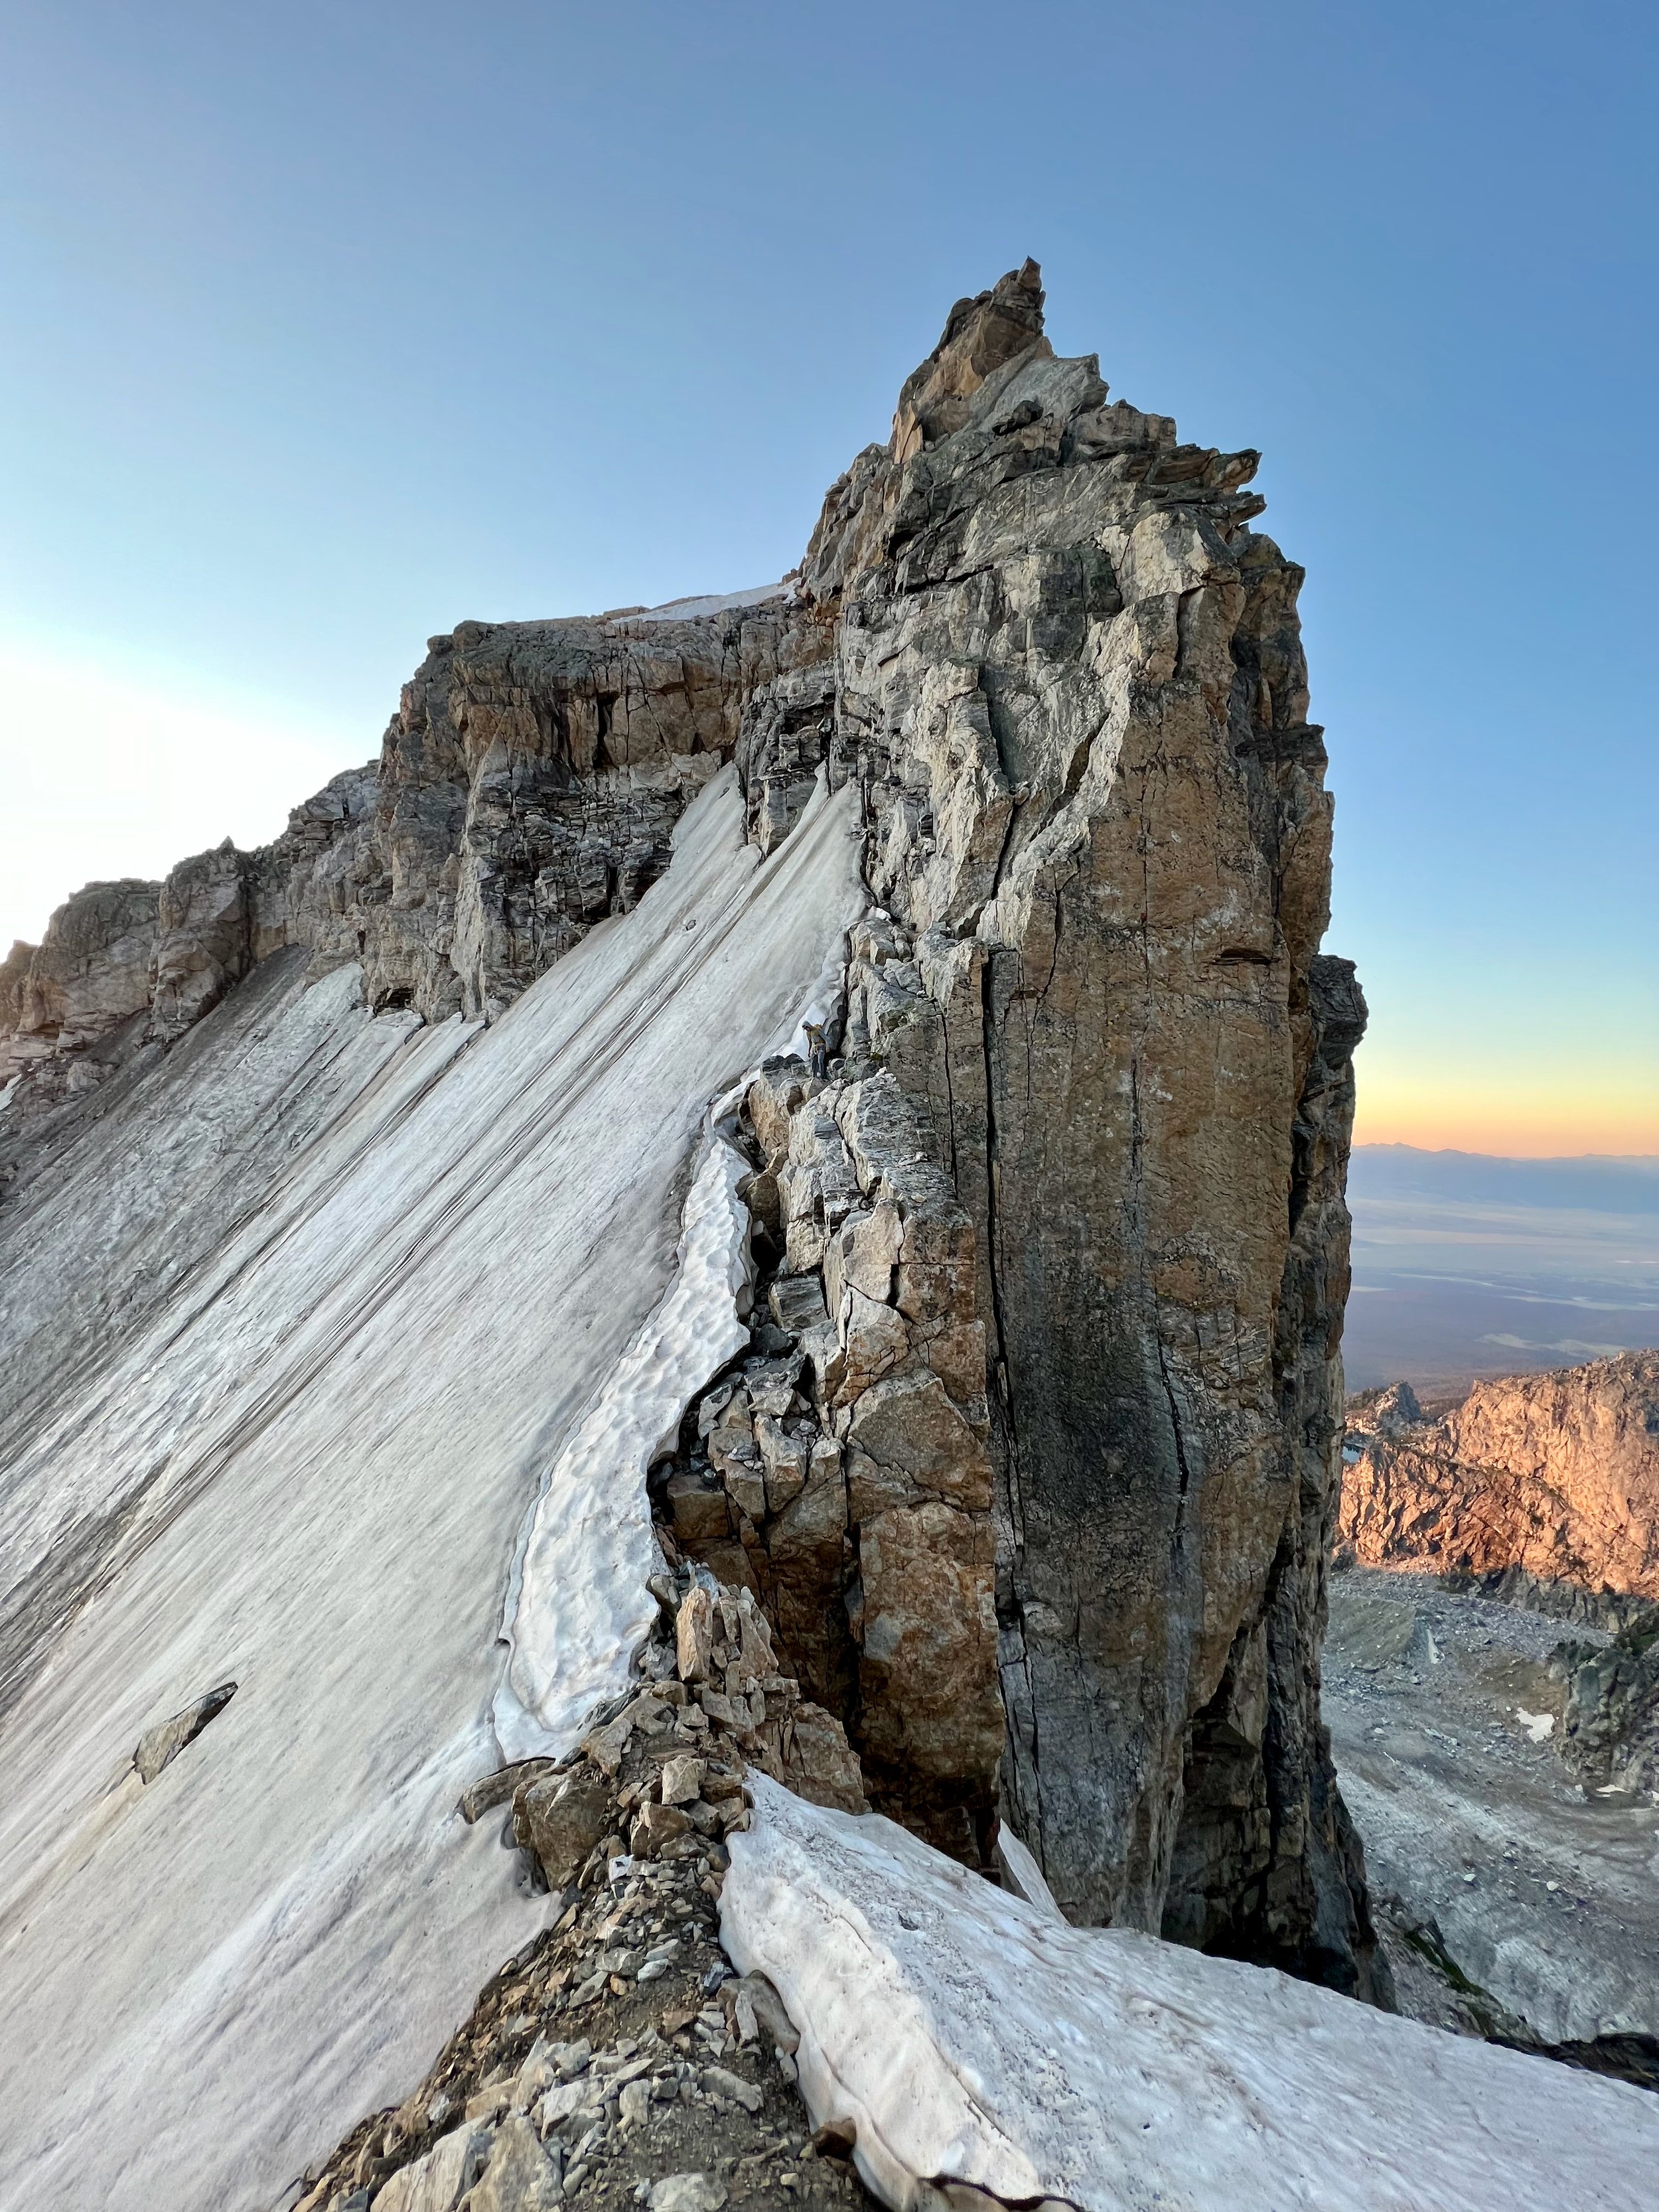
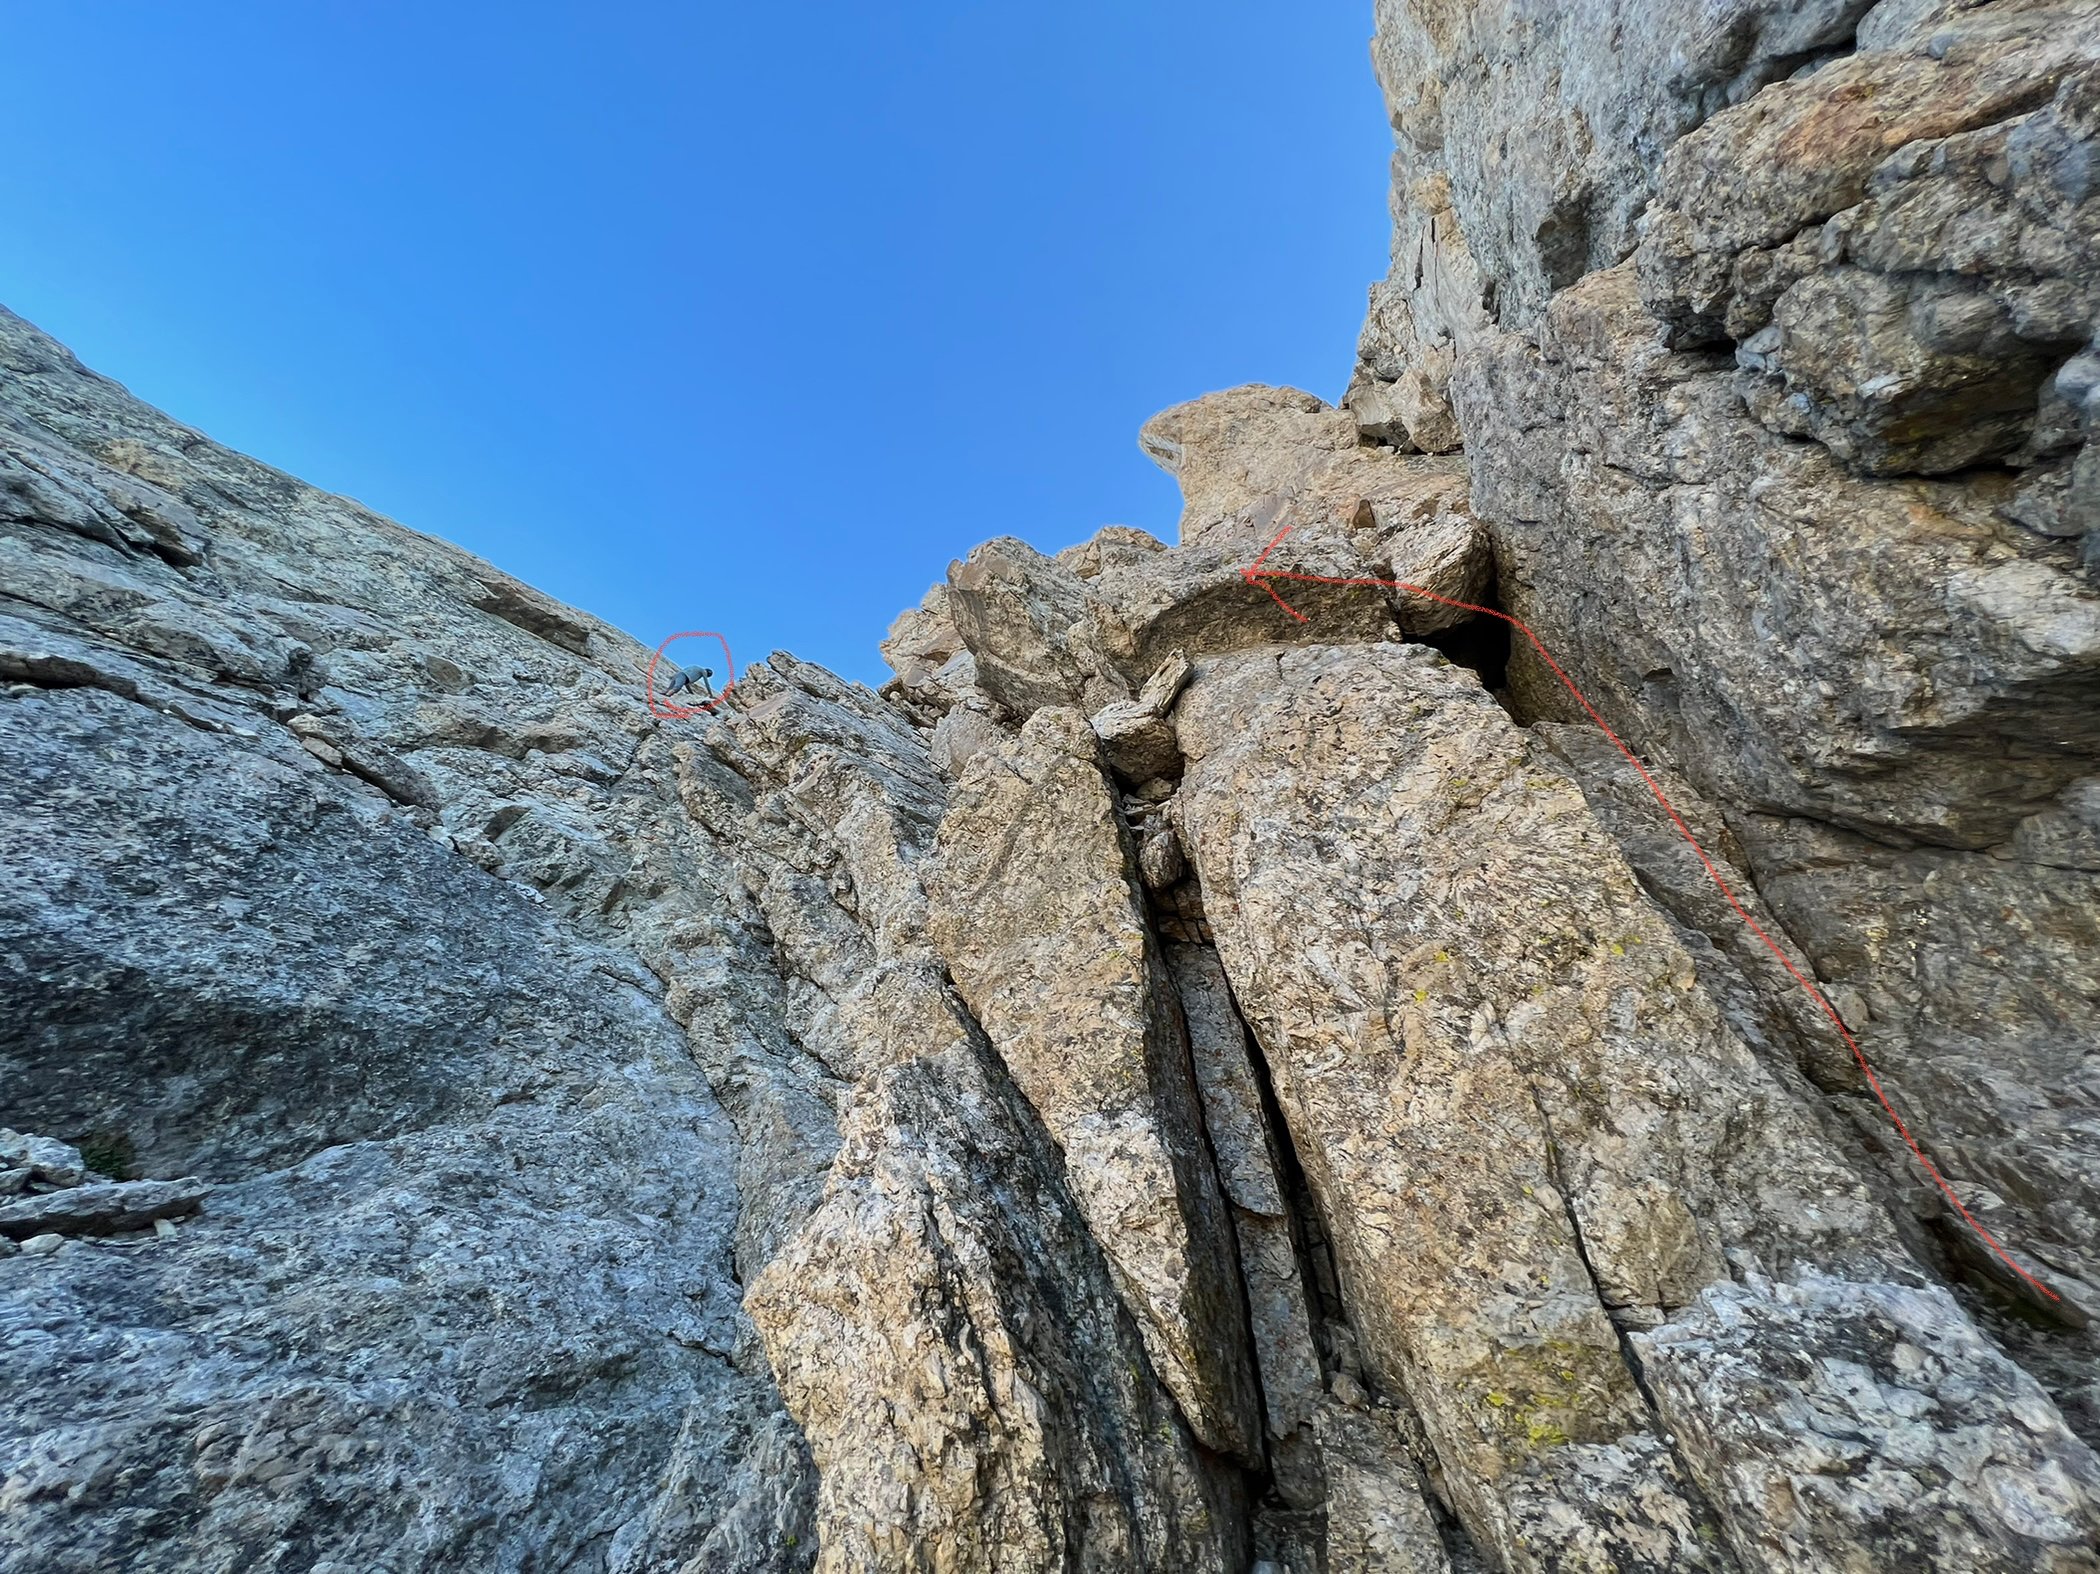
Climb some high-quality low 5th class rock to the right of the running water and then contour left to stay below to two permanent snowfields. Don’t be tempted to climb above the second one to cut off distance!
Drop packs and tag the summit of Owen. The guidebook calls the Koven route 5.4 but it feels significantly easier and less sustained than the OS. There’s only two low 5th class moves on the whole thing.
You’ll head straight up through a secure chimney for 20-30 ft before heading hard left once you hit low angle slabby terrain. Head west and hit the ridge and continue contouring north until you’re directly under a slanting chimney that takes you to the summit. The crux is pulling over a chockstone but it’s extremely secure as there’s a bomber hand jam you can use to pull over it.
Top out and head left to tag the summit. Weirdly enough, downclimbing the route has always felt easier than going up it to me so don’t fear the down climb.
Owen to Gunsight Notch
Head back to your pack and head down the ridge towards Rook Rock.
You’ll pass a rap station before Rook Rock that I’ve skipped in the past and down climbed instead.
Head up the ramp on the right side of Rook Rock and make 2x raps shortly after. The first rap is 10m and the second is 21m. These drop you off the north side of the ridge.
You’ll downclimb a ways and pass 2 more rap stations that can be skipped if you’re comfortable with low 5th class downclimbing.
Head hard left aiming for House Rock.
Once you get near Gunsight Notch, you’ll pass one rap station but continue contouring to the left on easy but exposed terrain to find another rap station nearby that is directly above Gunsight Notch. Make a short rap into Gunsight Notch.
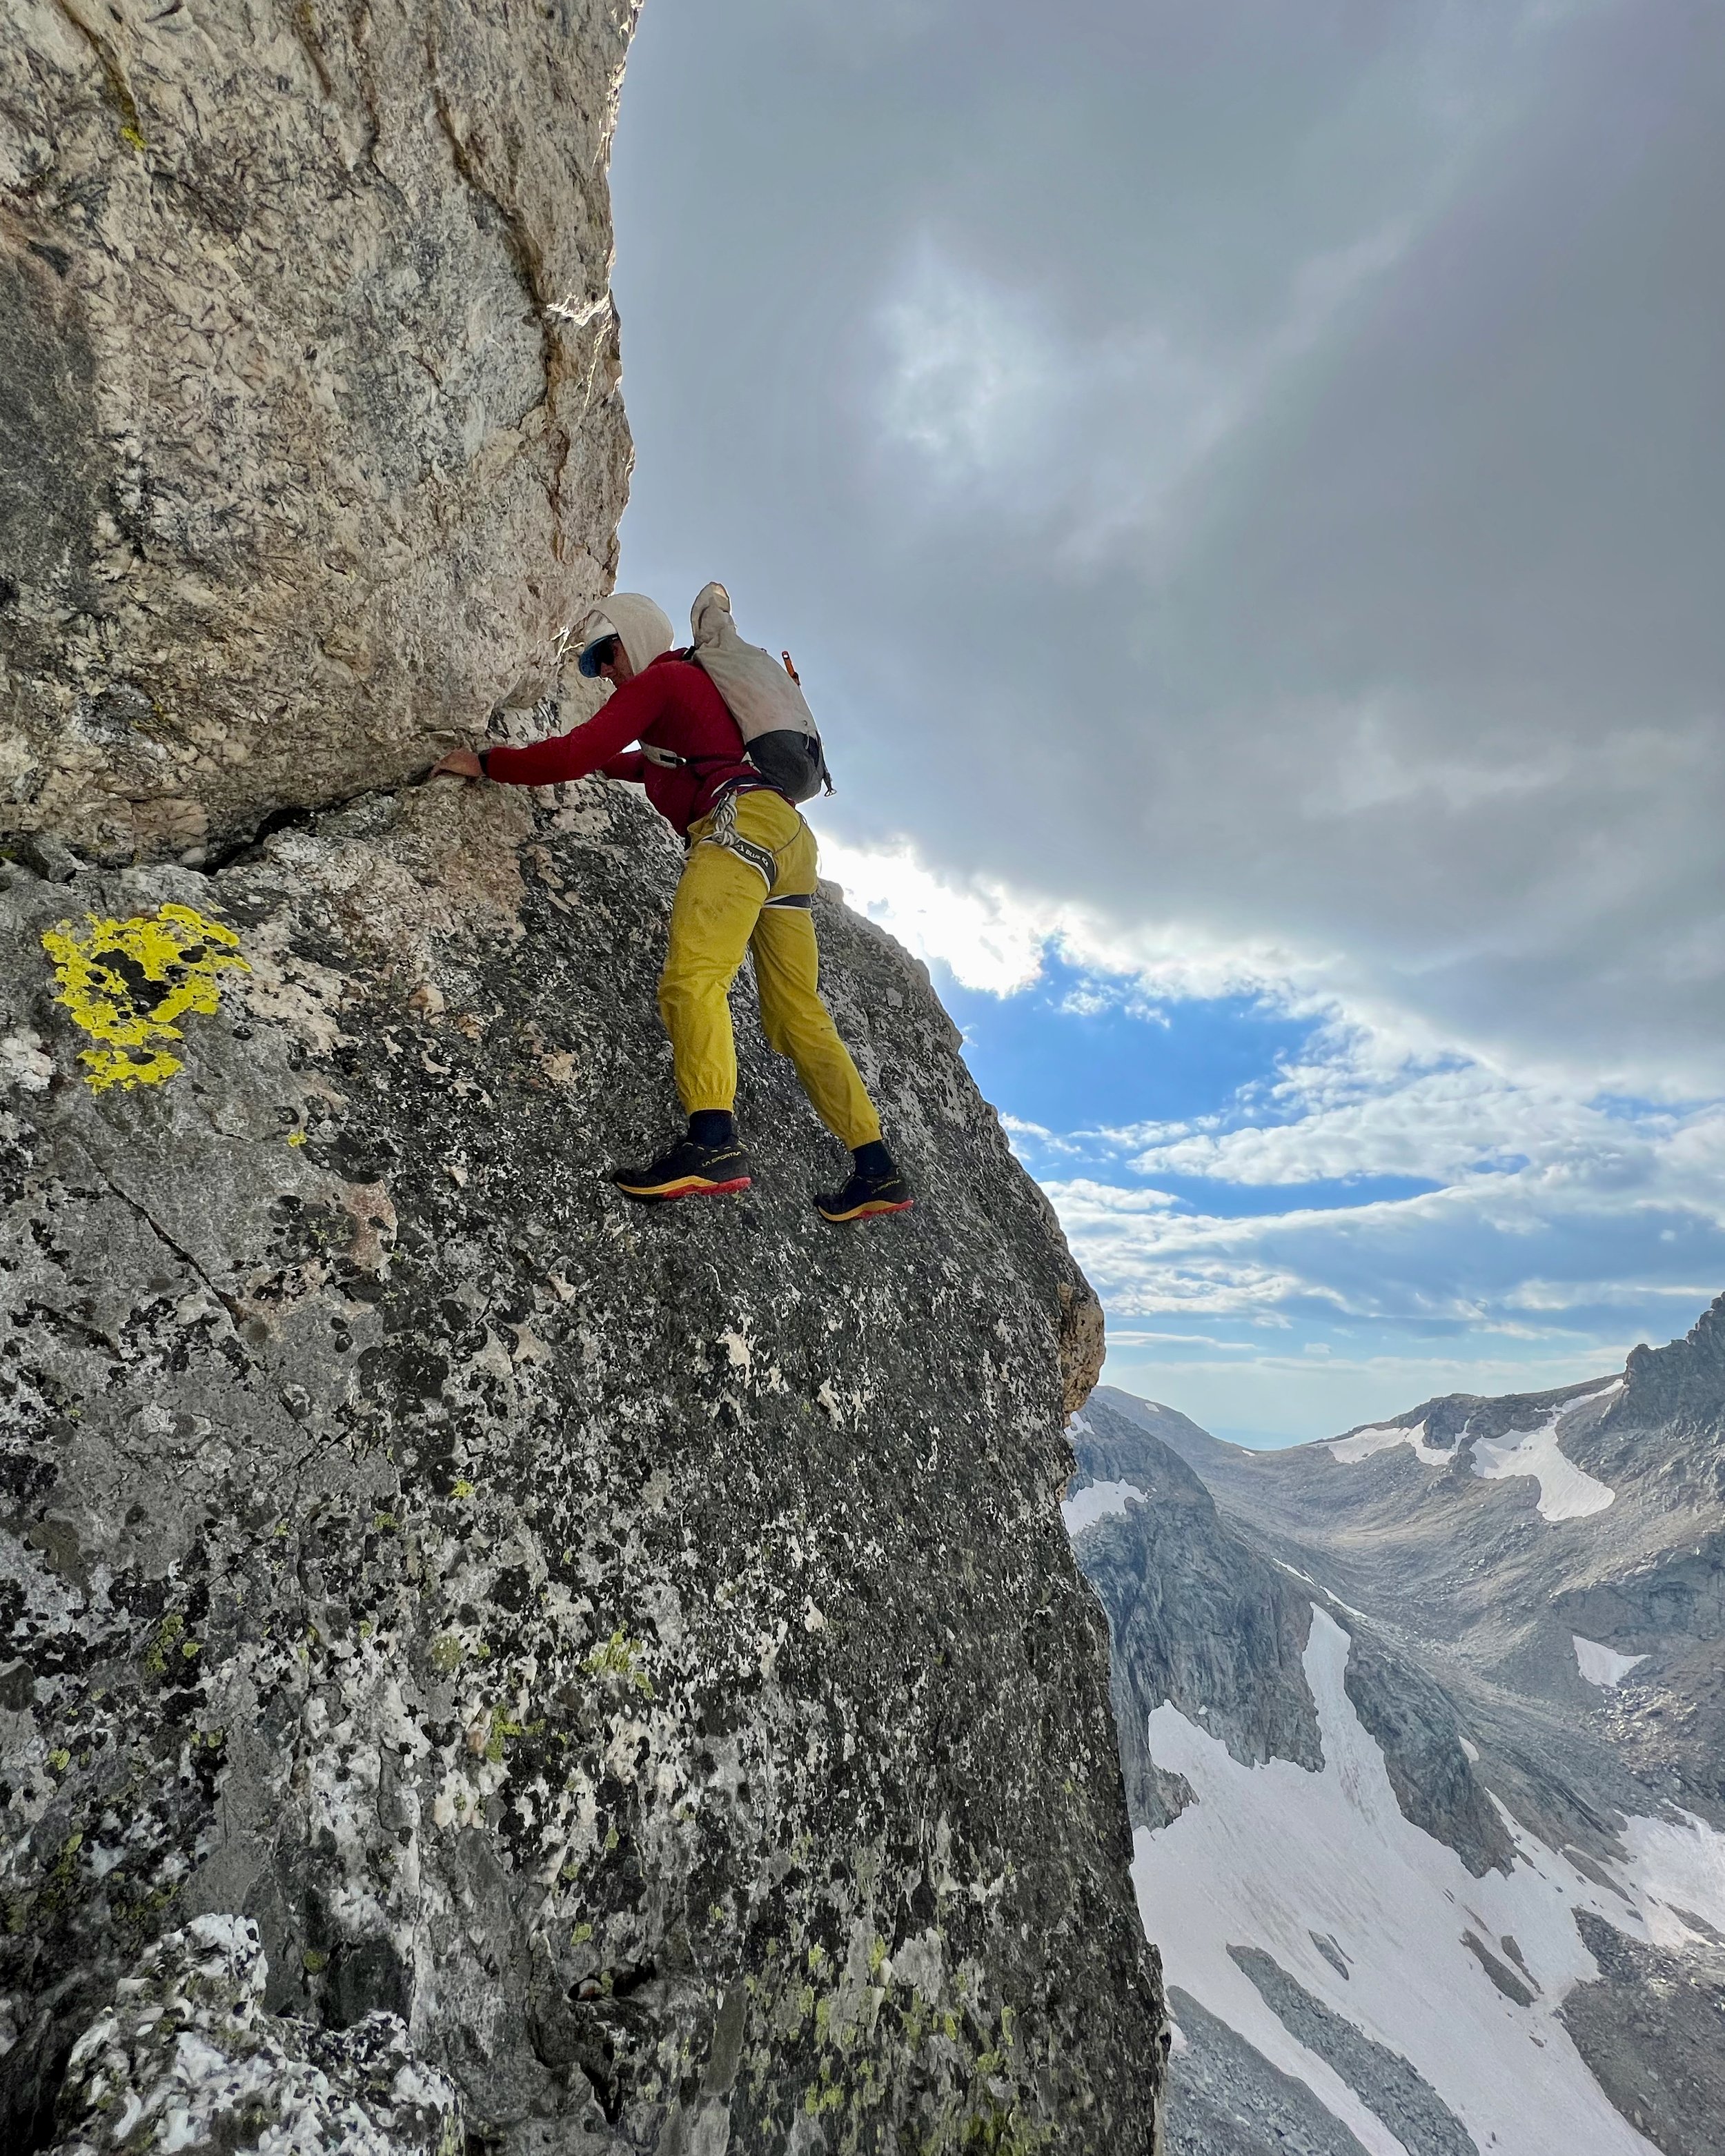
Gunsight Notch to the Grand
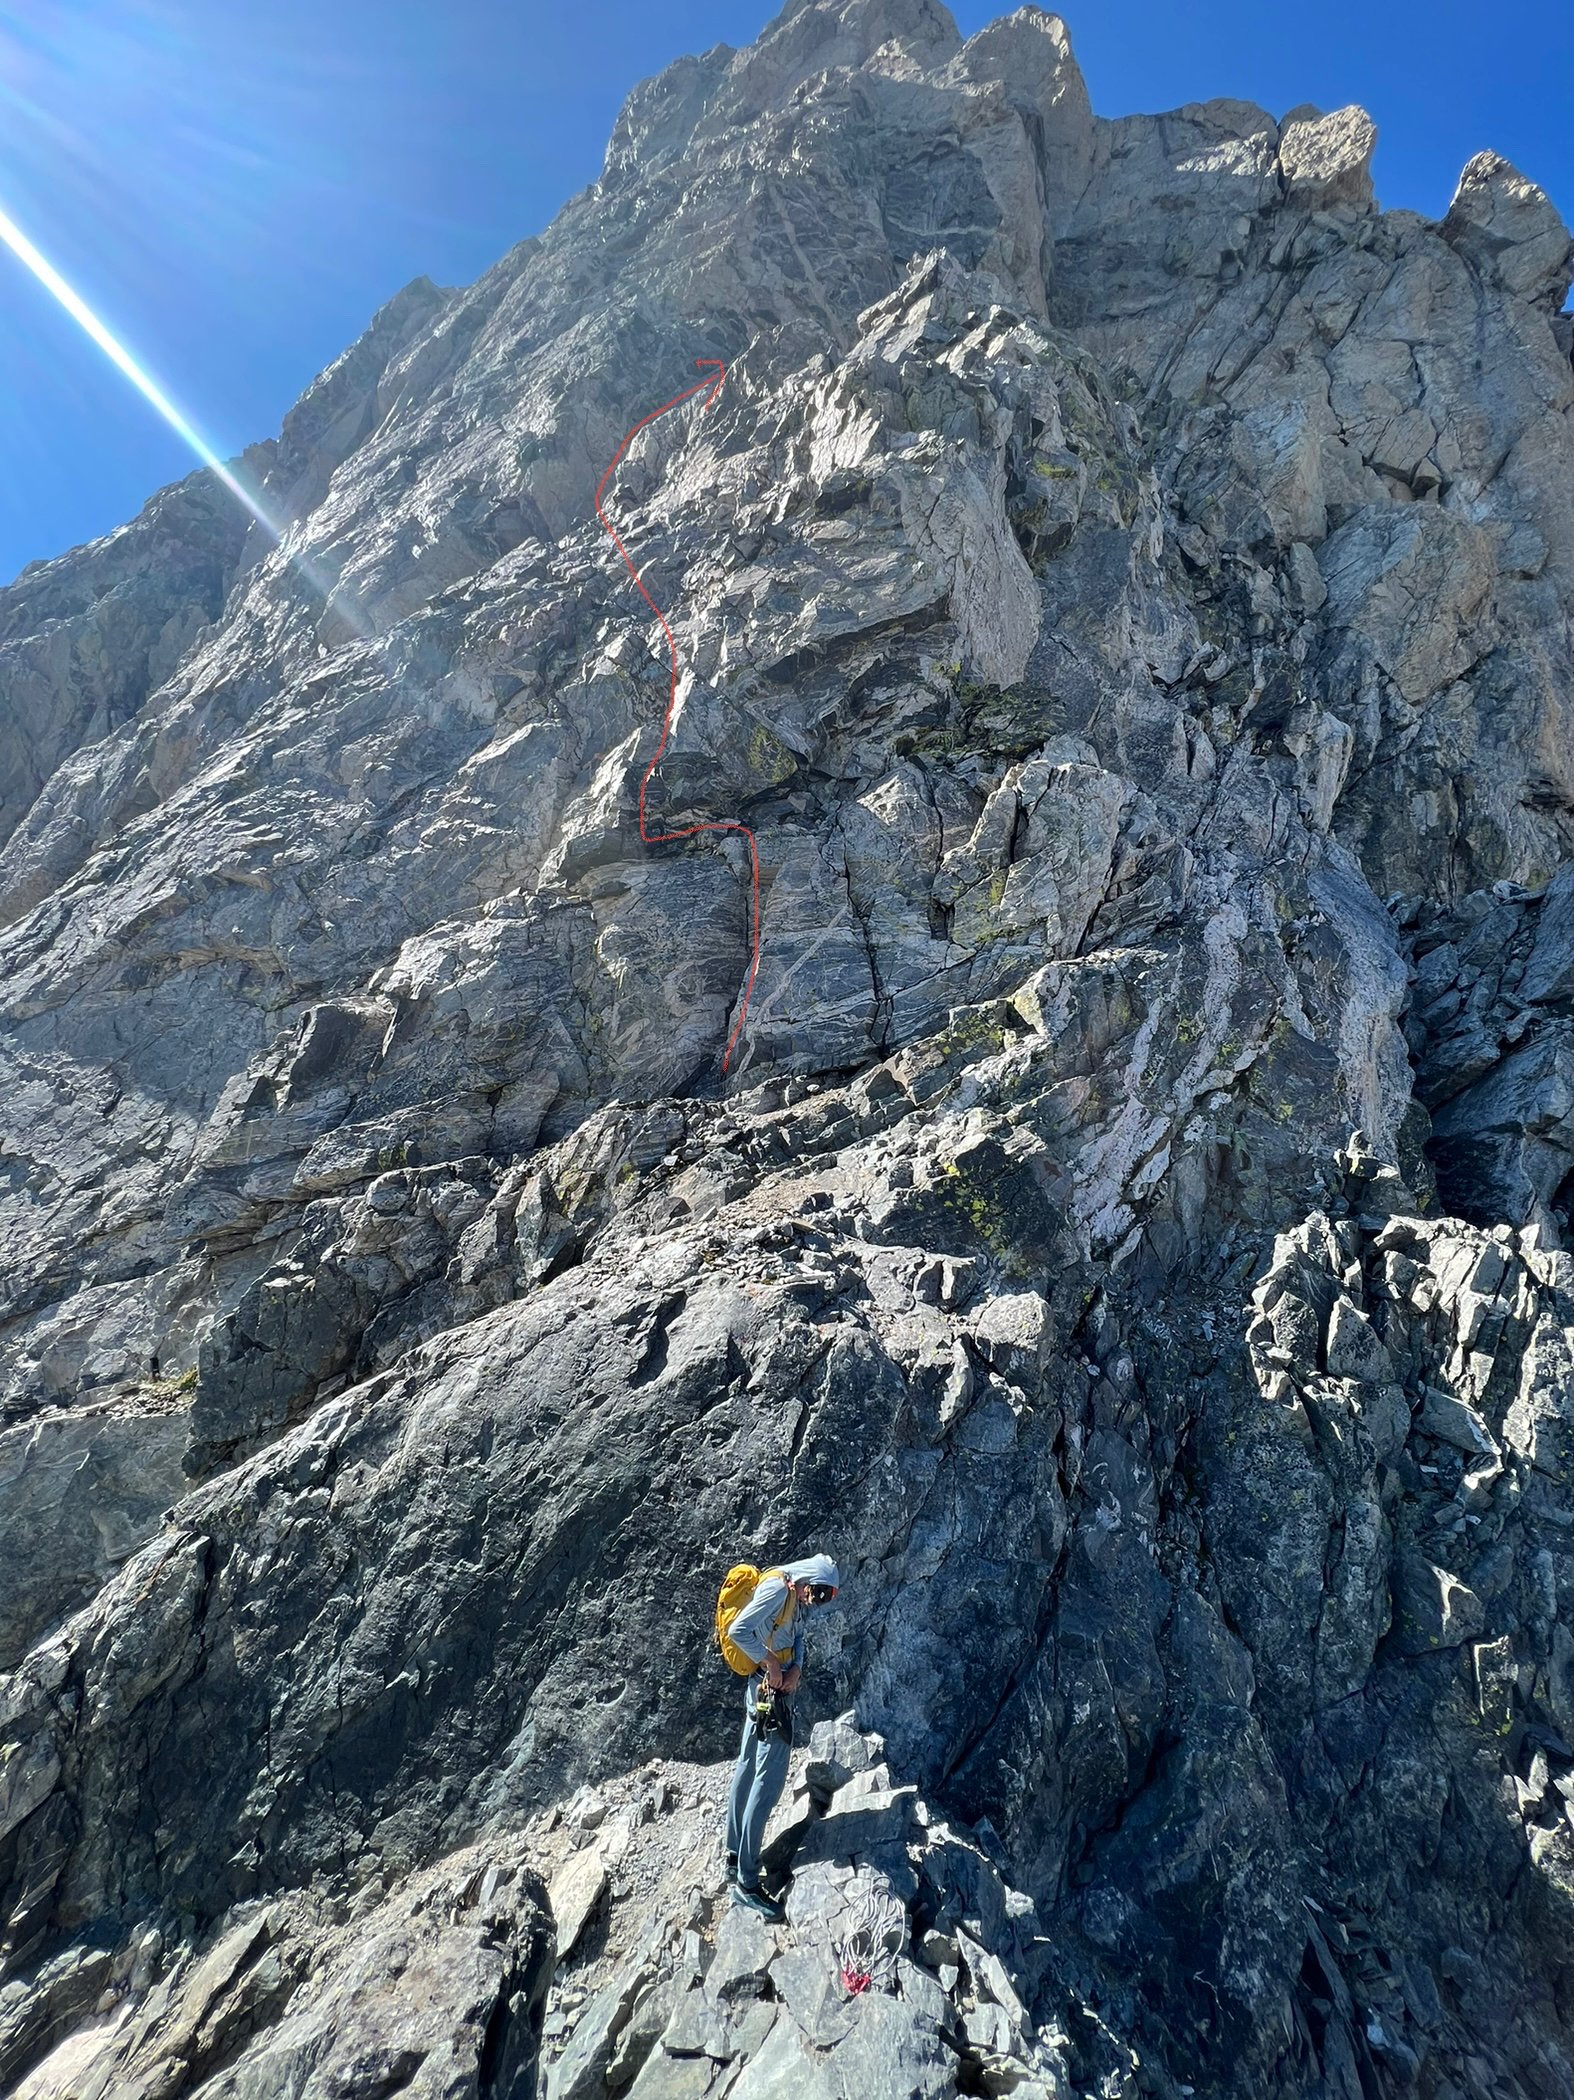
Scramble up low 5th class terrain a short ways before dropping left and descending a ramp to hit the Nose feature. There’s an existing anchor just to the right of the nose.
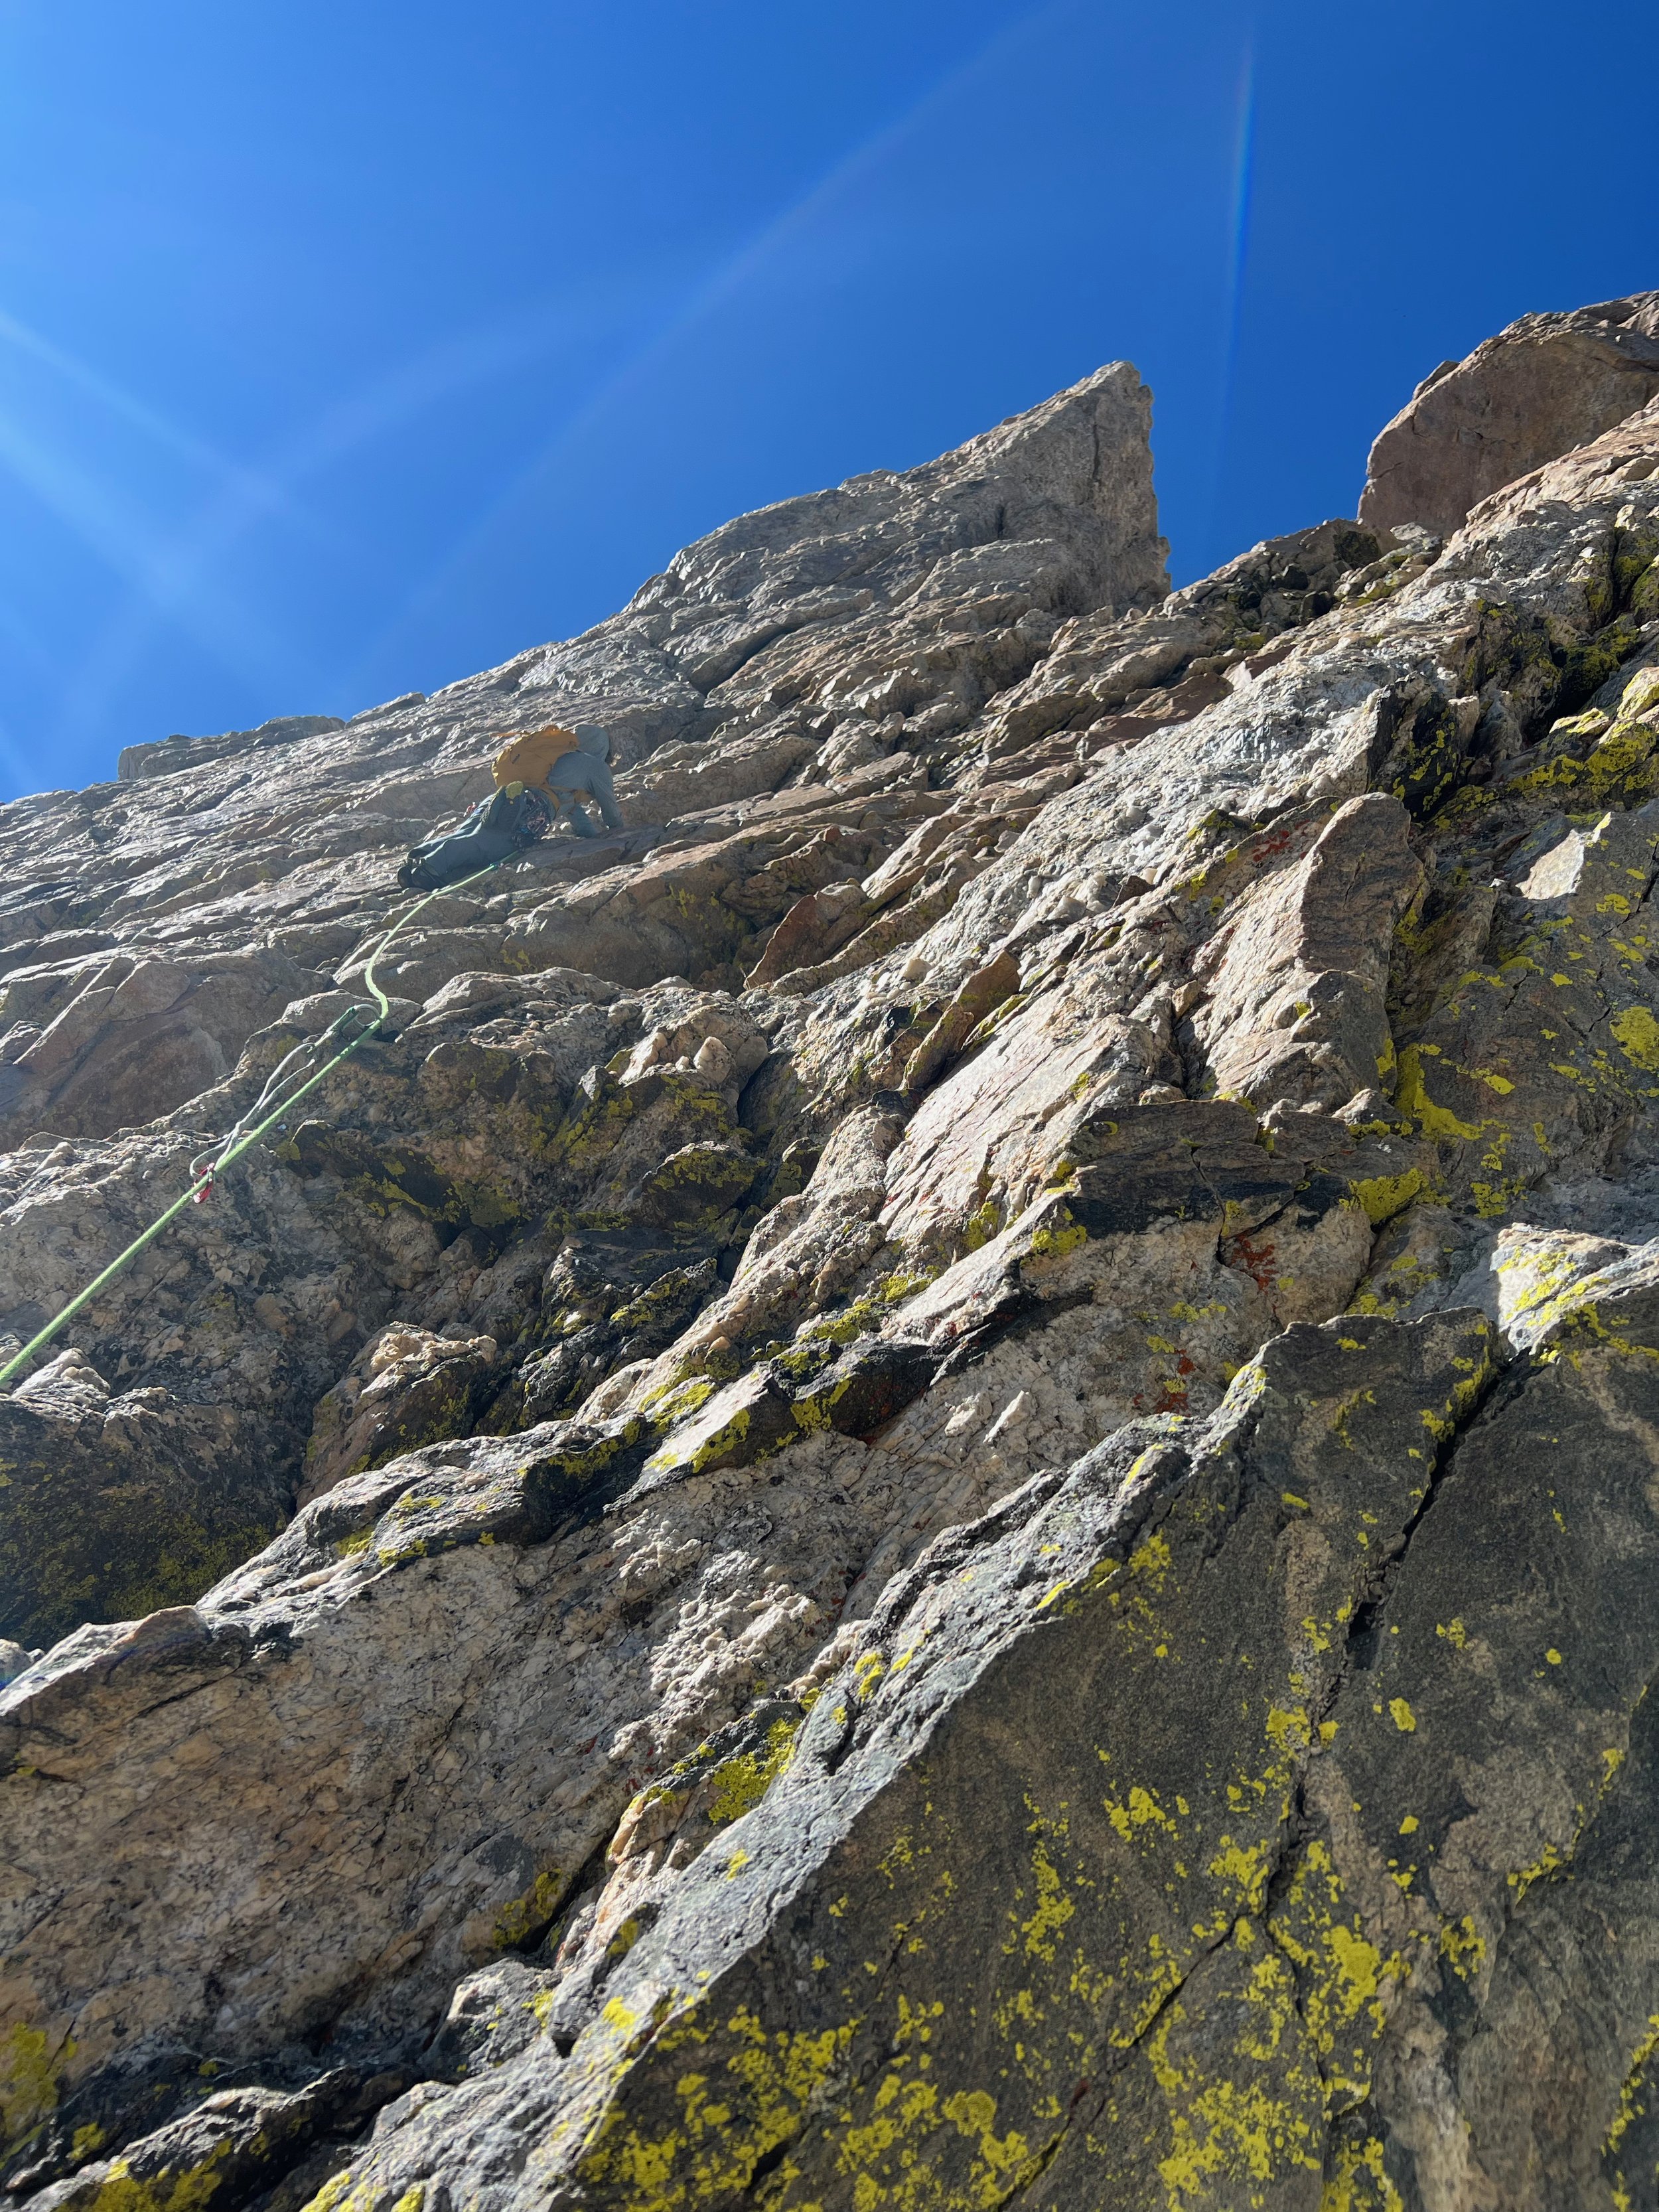
Climb 5.8ish terrain from here that’s generally easier on the left and a little harder on the right. This feels like the climbing crux of the GT to me but it’s high quality and protects well.
Stay left of the large roof and then hang a hard right to climb 5.6 chicken heads with 2 cracks on the right side. Most fun pitch of the GT in my opinion; it feels like easy gym climbing.
I’ve always climbed these 2 pitches as one simul block.
Head up the Grandstand staying on the ridge proper to hit the base of the North Ridge.
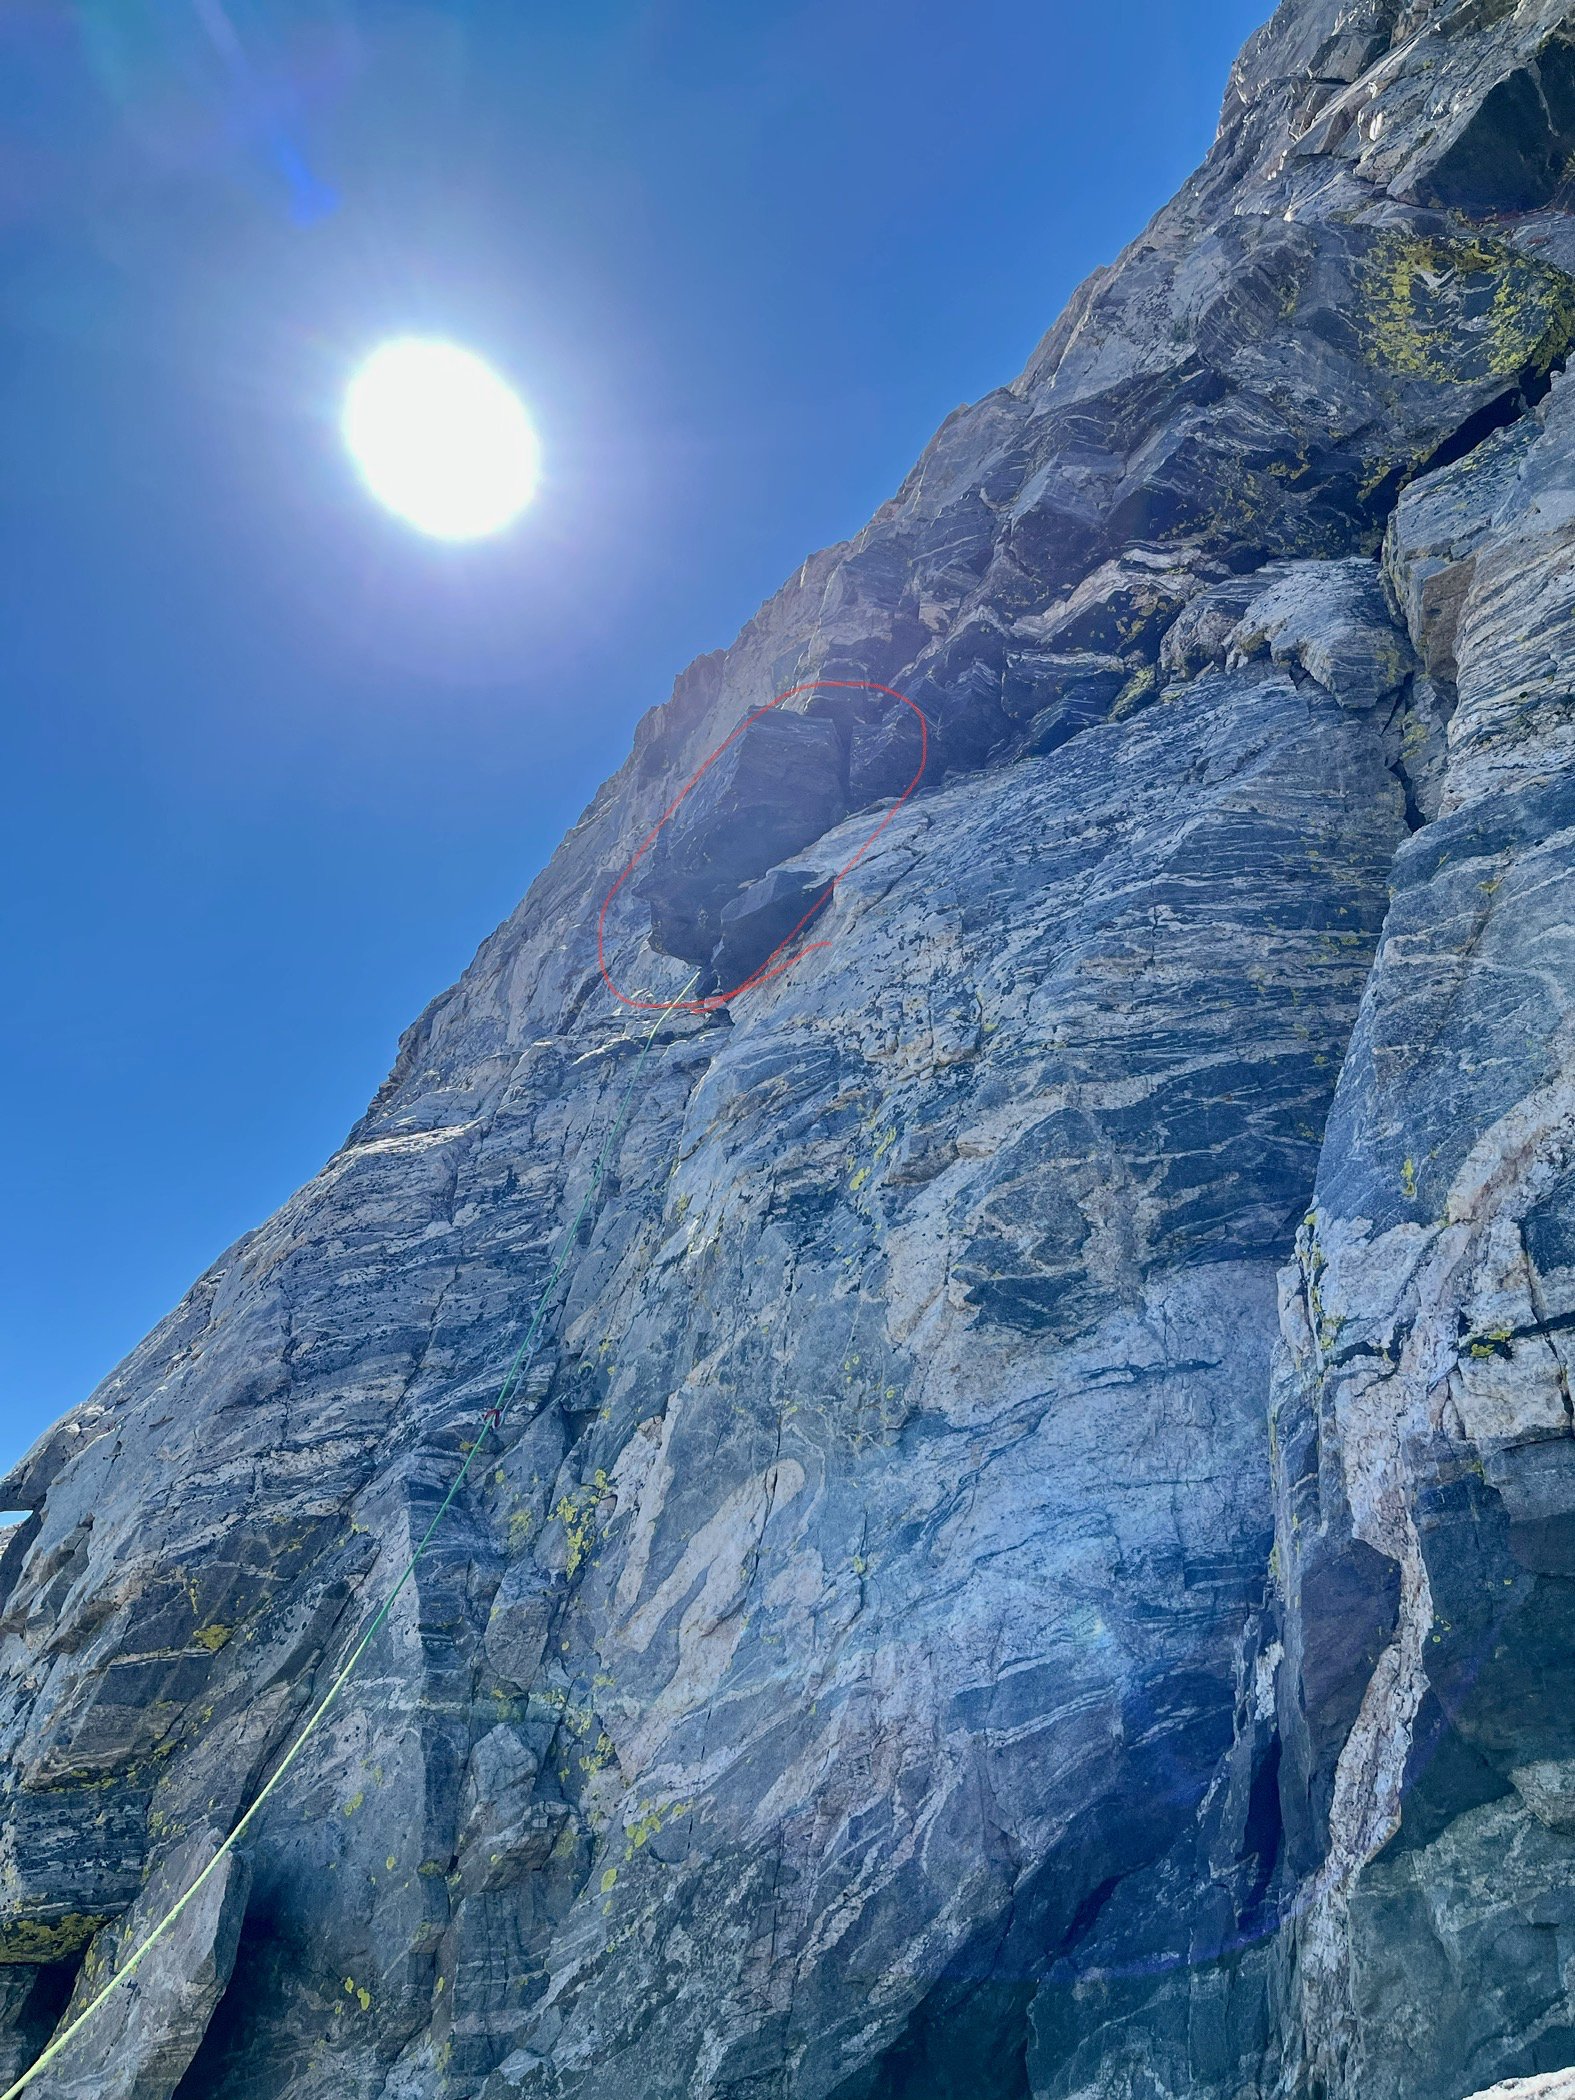
A bouldery start can be bypassed on the right. From here, head up and left and climb left of the big, detached block described as a tunnel. I see no reason to climb behind it as the direct route feels like easy 5.7 and reduces rope drag. There’s at least one fixed pin on this pitch. You’ll head up and left until you hit a 4th class gully that will take you up and right. I would belay and coil the rope whenever the terrain mellows out.
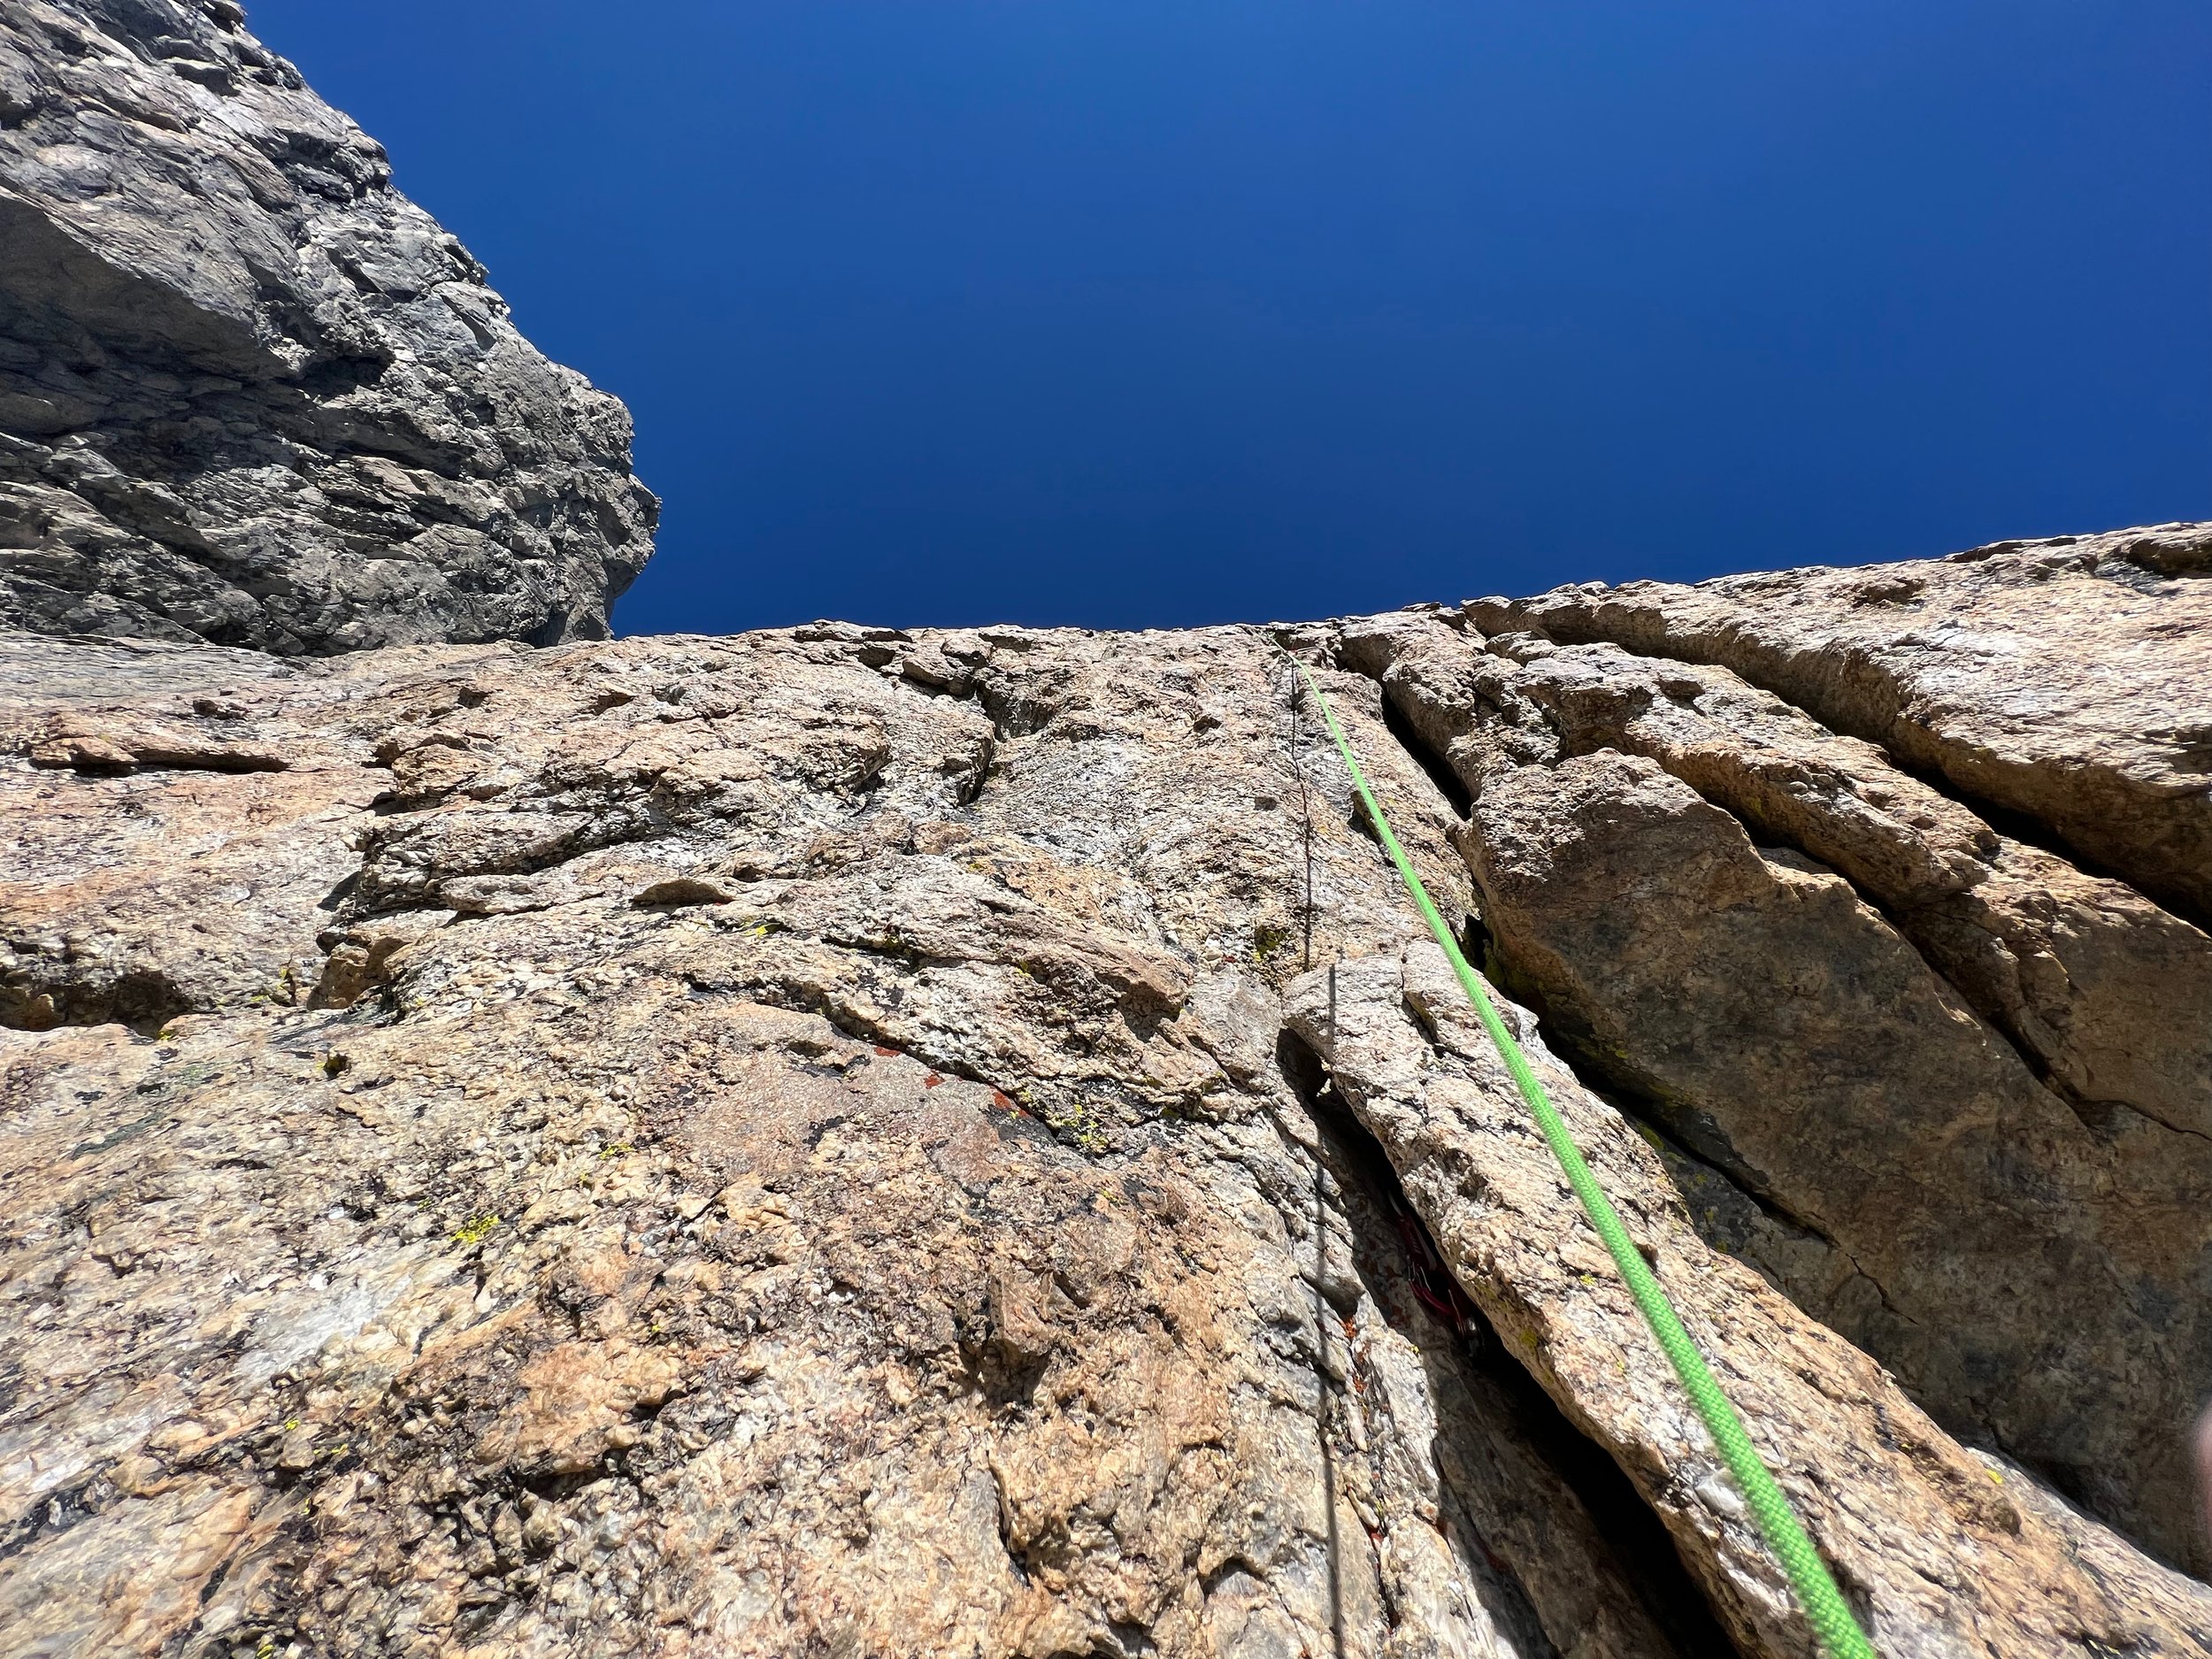
Head up the gully until you hit a prominent ledge. Take this ledge as far left as you can to hit the base of the Italian Cracks. The base of the Italian Cracks will be in the sun so if you’re in the shade, you haven’t gone far enough.
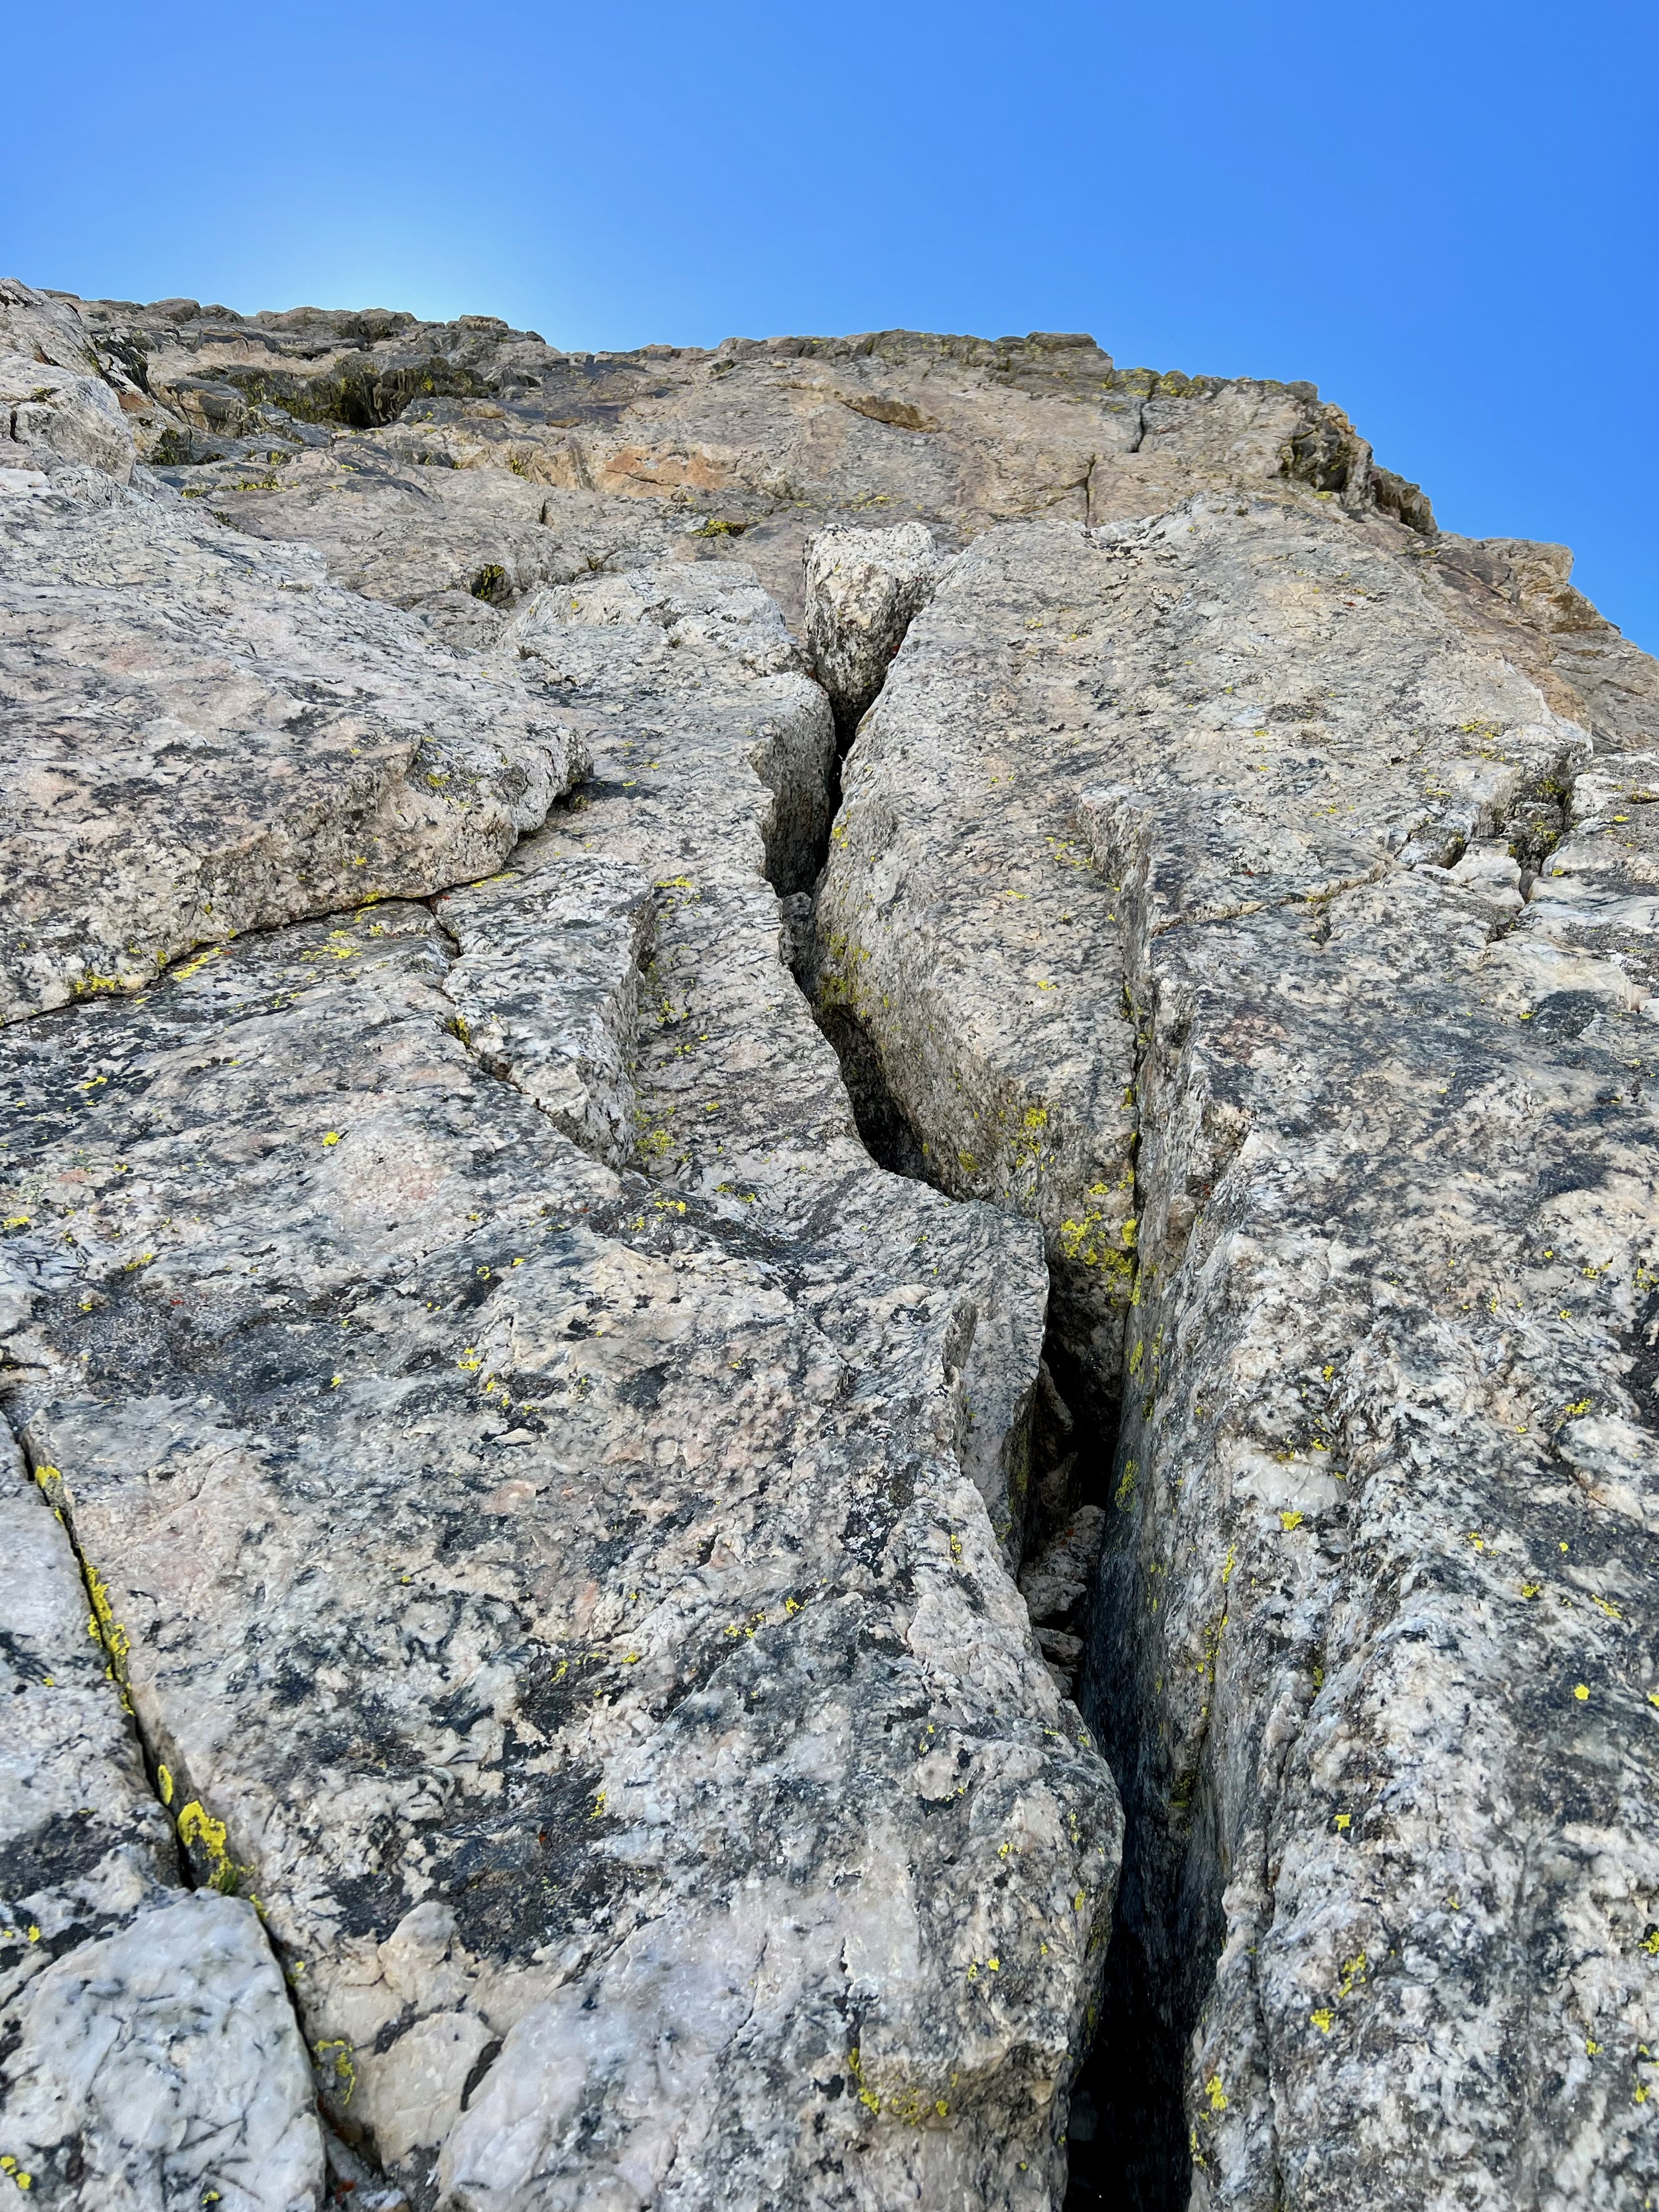
The start of the IC is marked by an easily distinguishable 5.6 wide crack. Climb this and then head up and left before trending back right to a prominent corner system.
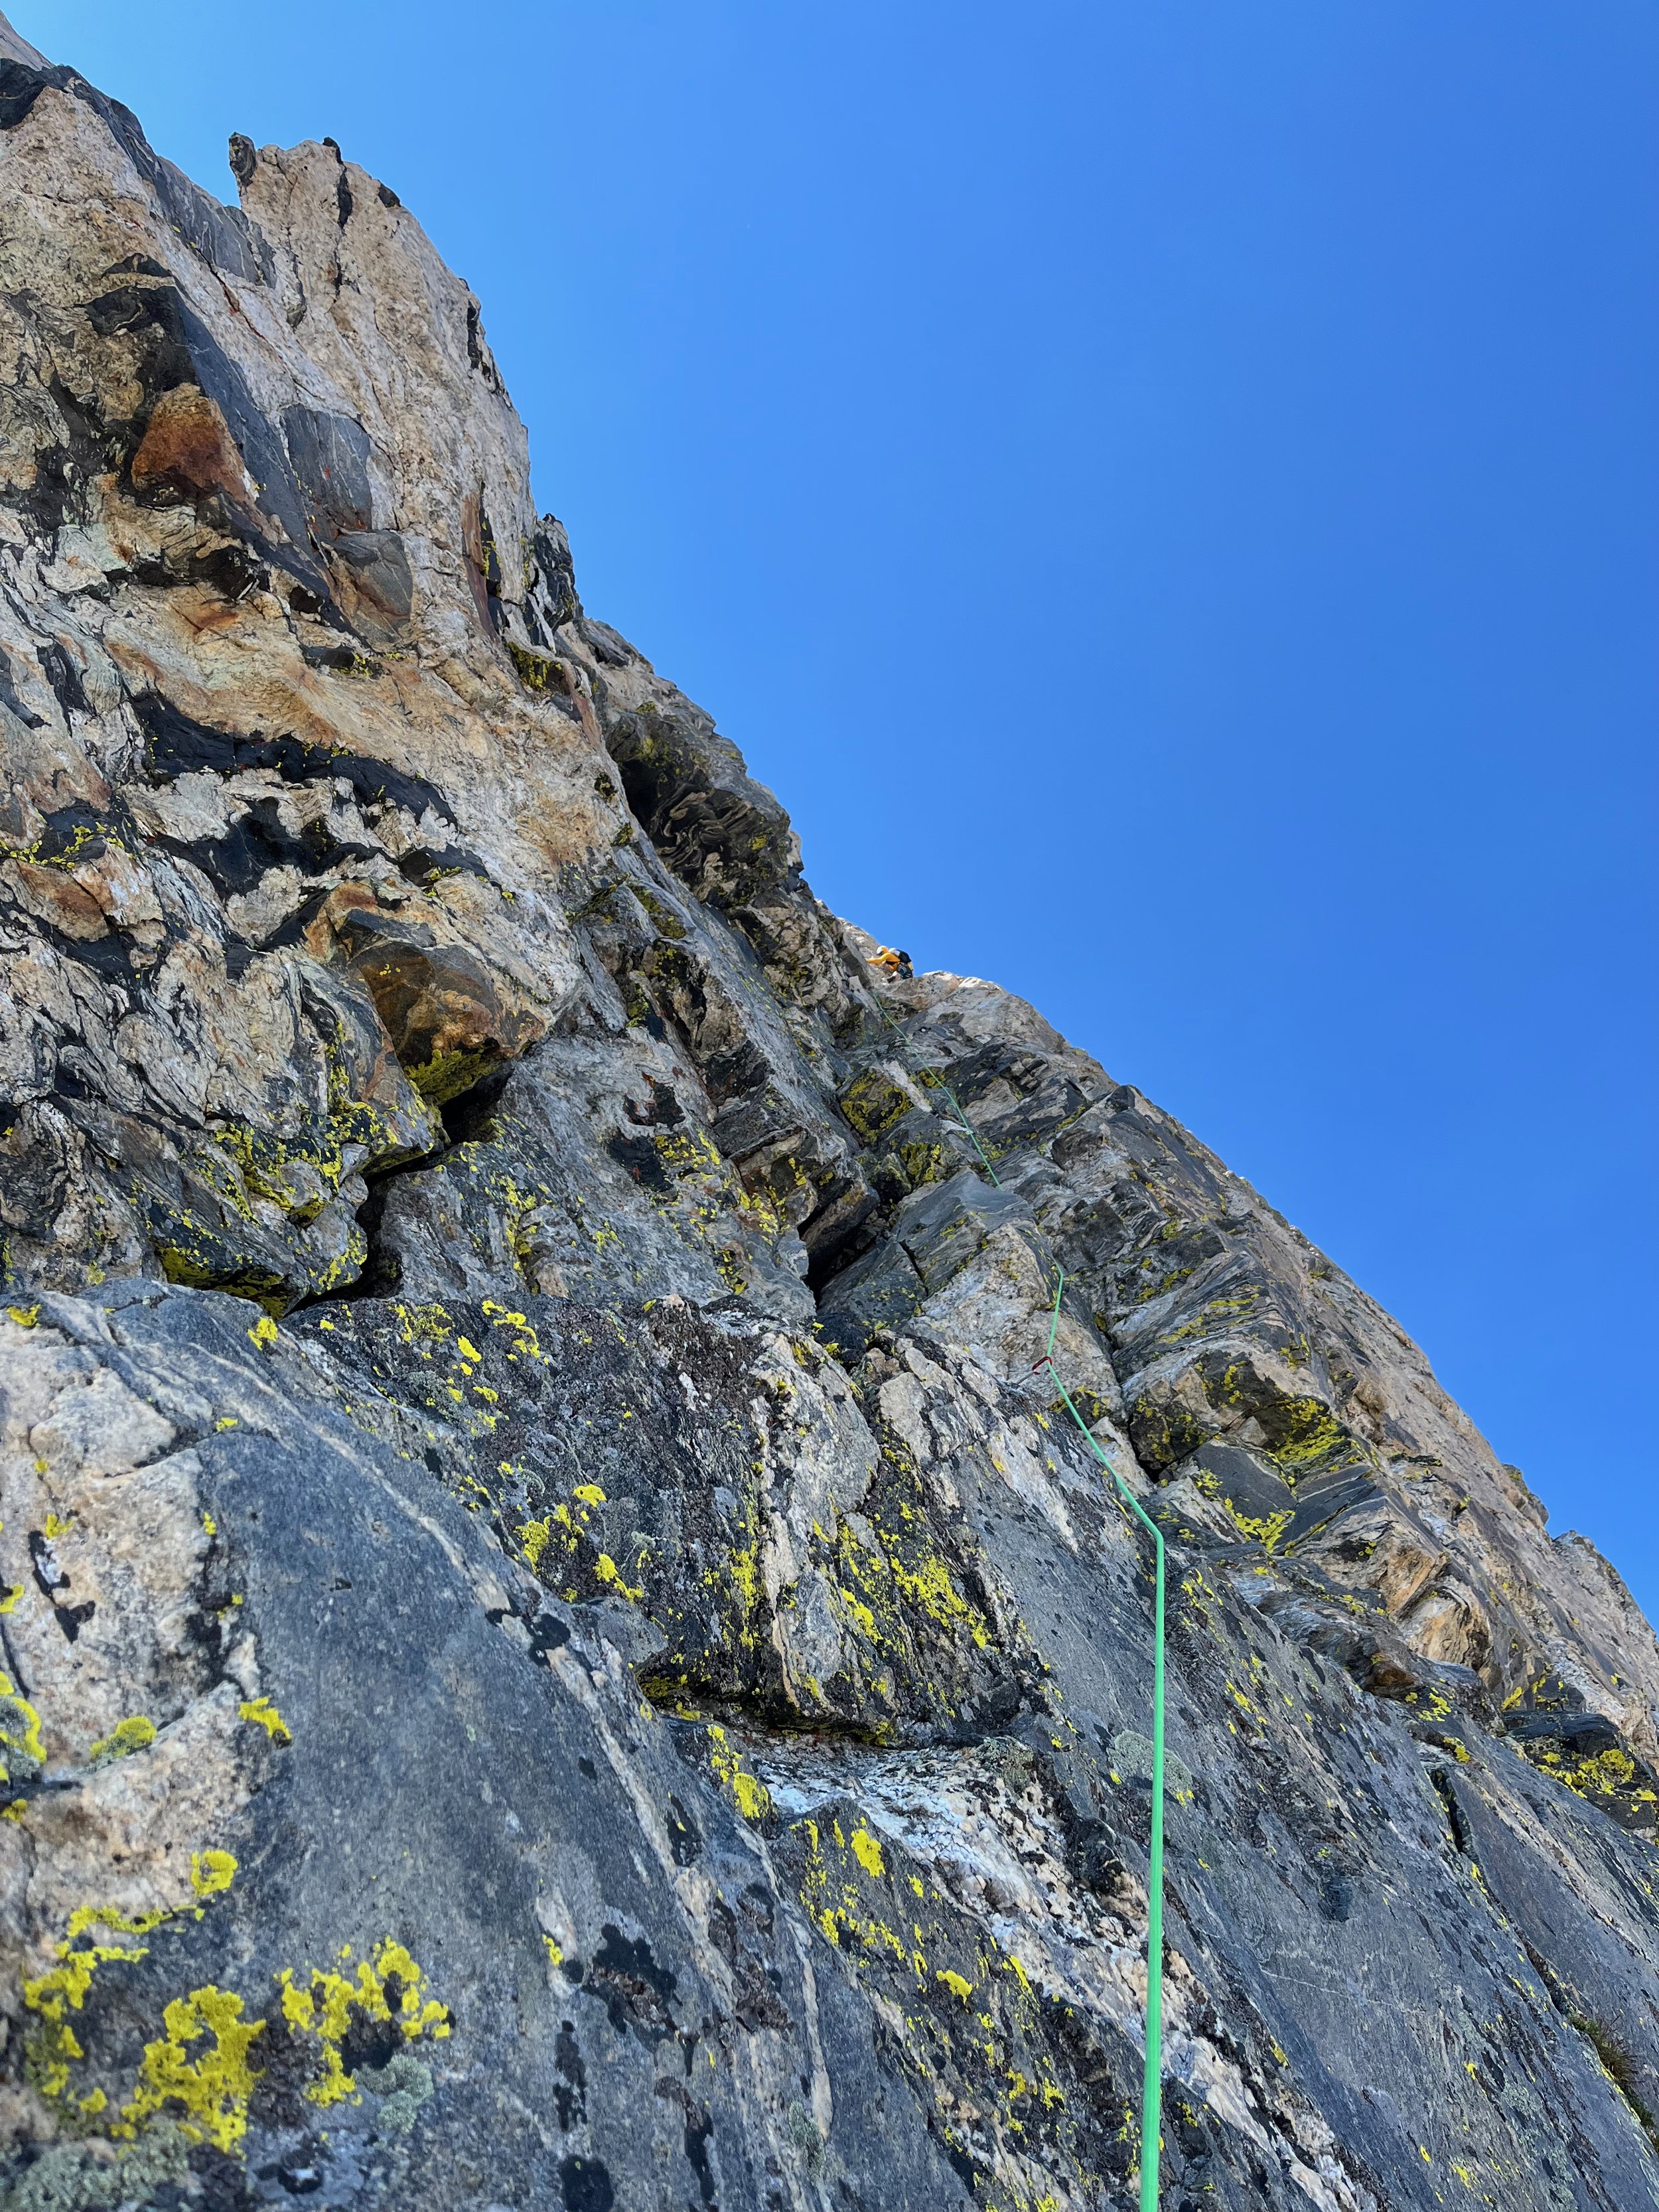
About 60-70m up, there’s an alcove with a bolted anchor so I would simul from the base of the wide crack to here.
From here, climb up until you hit the Second Ledge. You’ll pass black rock with a fixed anchor on your right but continue climbing until you hit the Wall Street-esque Second Ledge.
Traverse hard right on the Second Ledge to hit the OS. Just before hitting the OS, you’ll have to cross the Great West Chimney. Depending on snow conditions, either use a rap station or use an existing fixed line to cross the often-icy Great West Chimney.
Drop packs and head up the OS and descend the same. I would highly recommend down-climbing the OS as the rap stations are usually very congested. Refer to the Wyoming Whiskey beta for the OS; crazy amount of detail.
Grand to Middle
Drop back down to the Lower Saddle and refill water from the hose. Only bring as much water as you need to go up and over Middle as there’s generally running water between Middle and South.
Head up the North Ridge on easy terrain and climb through the Notch between Pinocchio Pinnacle and Bonnie Pinnacle on the right side.
Head up and right from here following ramps until you hit the NW Ice Couloir. Climb up and left to climb the Black Dike Couloir to the top.
Just below to the top of the couloir, climb up steep terrain on the right. There’s a right leaning crack with blockier/ easier terrain just to the right off it. Guidebook calls this 5.6 but it feels much easier to me.
Head up easy but slabby terrain to hit the top of Middle.
The Teton Rock Climbs book by Aaron Gams has a great description and photos of the North Ridge of Middle.
Middle to Nez Perce
Descend the SW Couloir trying not to kill anyone with all the loose rock all over the place.
We found water running just right of the trail at 11,950’. Finding running water at the saddle below this can be challenging.
Head up and over South Teton to hit the base of Ice Cream Cone. I’ve both soloed and pitched out the Ice Cream Cone pitch and I prefer pitching it out. It feels like real climbing to me especially around 2/3 of the way up. It’s a surprisingly good pitch though.
Between ice cream cone and Gilkey Tower, there’s an unnamed tower where you’ll run into a single bolt with a slung block off to the left. I prefer to make a single short rap off the bolt as the downclimbing here is slabby 5.6 and doesn’t feel super secure to me. From here, you can take off harnesses and put away all the gear. Yay!
Tag Gilkey Tower and Spalding Tower. When in doubt, stay on the ridge proper. It’s all high-quality scrambling through here.
From the top of Cloudveil Dome, the key is locating the rap stations and downclimbing beneath them. There’s 5ish from what I remember. Generally, trend skiers right during the top half before trending skiers left near the bottom. No climbing harder than low 5th class.
Make a long traverse to Nez Perce. Start looking for cairns as they’re plentiful if you’re on route. If you haven’t seen a cairn in 100 ft, you’re probably off route.
Generally, traverse left until you’re left of the summit and then climb a short 5th class section. There may be easier options here, but this is what we did. From here, climb up and right until you hit the summit ridge and then take this to the summit. I would highly recommend being on top of Nez Perce in the light as the route-finding is nearly impossible in the dark.
Reverse your route and then drop down the gully denoted on the Smiley beta before hanging a hard right and contouring just beneath a buttress. Don’t make the mistake I’ve made in the past and try to trend skiers left to pick up the trail at a higher elevation. You end up descending an endless boulder field with refrigerator sized blocks.
Pick up the trail and stroll your way back to Lupine Meadows. You did it!
Strava Link: https://www.strava.com/activities/9646958283/overview
Approximate Splits for Sub 24 hr Pace:
Teewinot – 3:25
East Prong – 5:30
Owen – 7:10
Grand Teton – 12:20
Middle Teton – 15:30
South Teton – 16:45
Nez Perce – 21:30
Lupine Meadows – 24:00
Gear List:
Group Gear:
Rope: Mammut 8.0 mm 42m
Cams: BD Ultralight (1x 0.3-2)
Nuts: Wild Country Superlight Offset racked on Camp Nano 22 (half rack, 5-9)
Nut Tool
Alpine Draws x4
60 cm sling w/ Camp Nano 22 x6
Petzl Nanotraxion x1 w/ non locker
Knife: Spyderco Ladybug
Emergency/ First Aid Kit
Beal Escaper (optional based on snow conditions in Koven Col)
Individual Gear:
Harness: Blue Ice Choucas Pro
Chalk Bag: Blue Ice Sender w/ 5 mm Dyneema Cord (optional; can also share)
120 cm Sling
Petzl Reverso
3x lockers
Sterling Hollowblock
Pack: Bonfus Iterus 38L (I really like to ability to access water bottles on the move from the side pockets and the stretchy pocket on the back of the pack is handy for items you need quick access to)
Helmet: Petzl Sirocco
Headlamp: Fenix HM70R + extra battery
Sunglasses: Smith Embark
Approach Shoes: La Sportiva TX Guide (Leaving rock shoes at home is definetely the move; TX Guides climb well on 5.8 terrain and sections you’ll pitch out have scrambling in-between so switching between approach shoes and rock shoes end up being a huge time suck)
Gaiters (there’s enough loose rock on route that youll be happy you have them; especially on the descent to the Lower Saddle and descending Nez Perce)
Wind Shell: Mammut
Gloves: OR Echo
Water: 2x Evian 1L (Nalgenes are heavy)
4000 calories + 4x Skratch packets
Sunscreen stick
Chapstick